Background
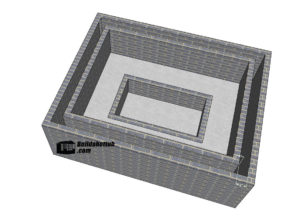
May 2021, Anthony got in touch and purchased from the online store the 3.05m x 3.05m design. He goal was to modify this to fit the space and the shape that he was looking to build in his back yard in Cardif, Wales. This is a more cost effective option than having me create a custom design. If you are looking for a custom design, you can find more information about that here.
Anthony is a builder by trade, but had never built a hot tub before. Clearly, laying blocks and pouring concrete was not going to be an issue for him, what he was looking for assistance with was the plumbing side of things.
September 2021
Anthony’s busy work schedule meant this was going to be a long term project from the outset. He did not have a finish date in mind as he is fitting this in between his regular day job.
First steps for Anthony were to create the external walls. What Anthony also did was purchase all of the plumbing materials from me. In that way he knew exactly what he was getting and that it was the right parts for the job. For Anthony, he also wanted the peace of mind that comes with my build consultancy so I am at the end of the phone or whataspp with any questions during the build. Believe me, there are always questions!
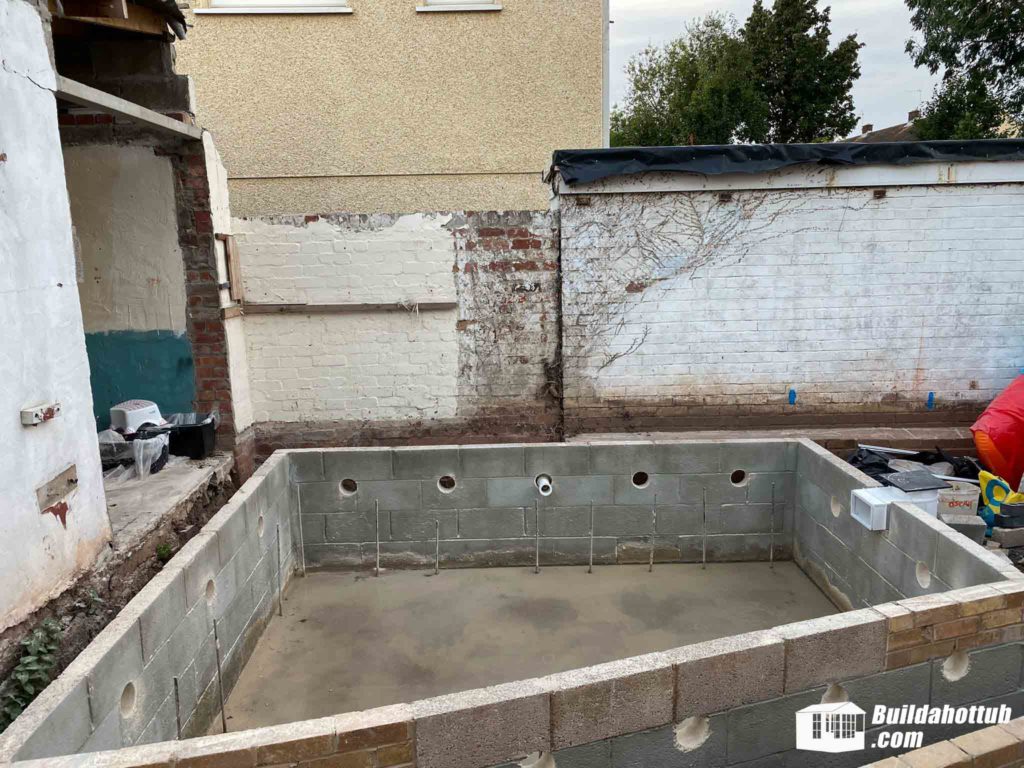
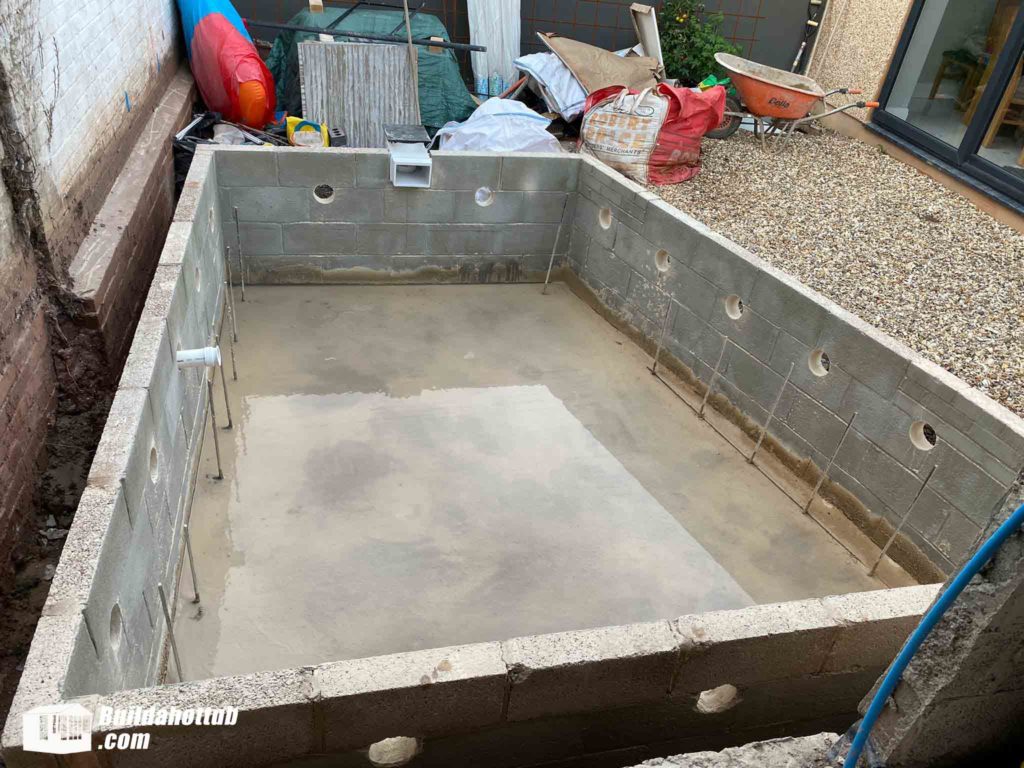
This is the overall progress so far for Anthony. He is going to put 25mm insulation and stick to blocks then shutter with plywood and fully fill the seats and an internal skin around 100mm of concrete for added strength.
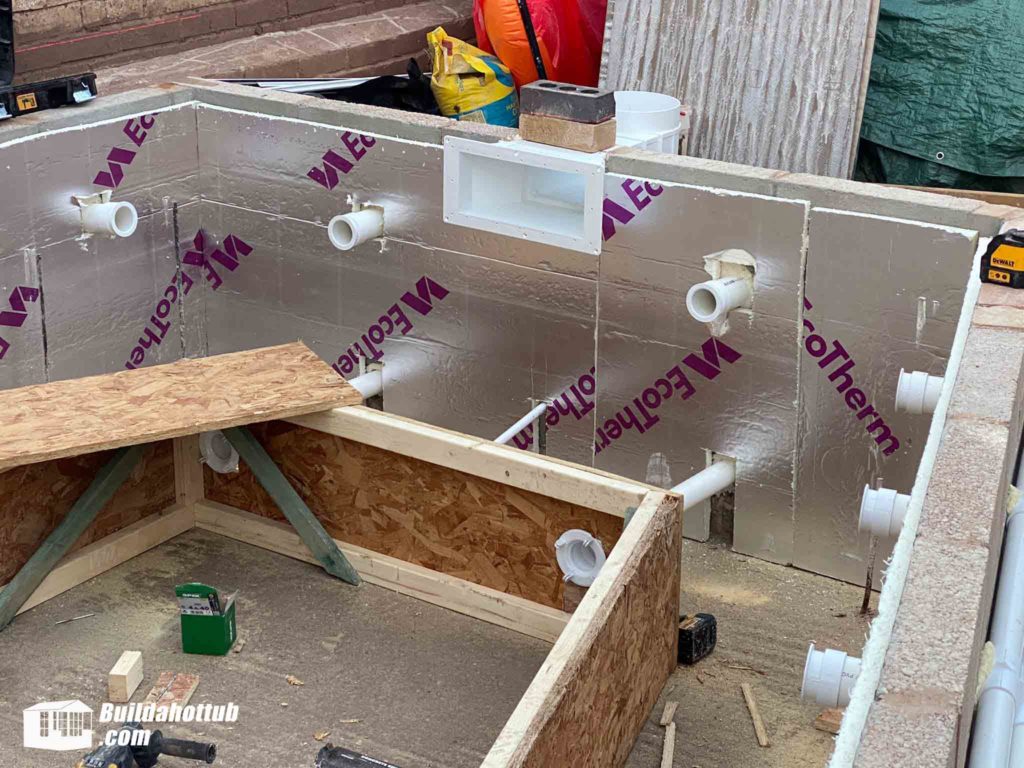
With the External plumbing in place the Gunite bodies too and the form made for the lower seats, next for Anthony is to pour the seats. Due to space restraints, Anthony decided that he would not use the regular depth of the seats which is about 100mm / 4″ wider than he has them. He opted for a narrower seat for his build.
October 2021
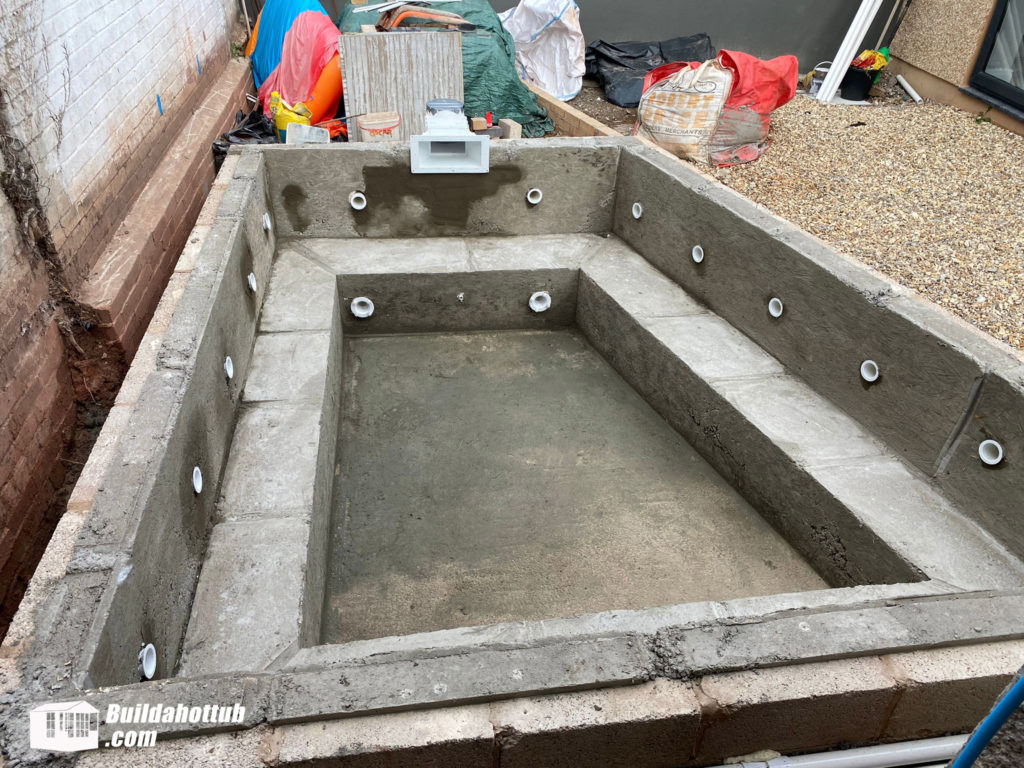
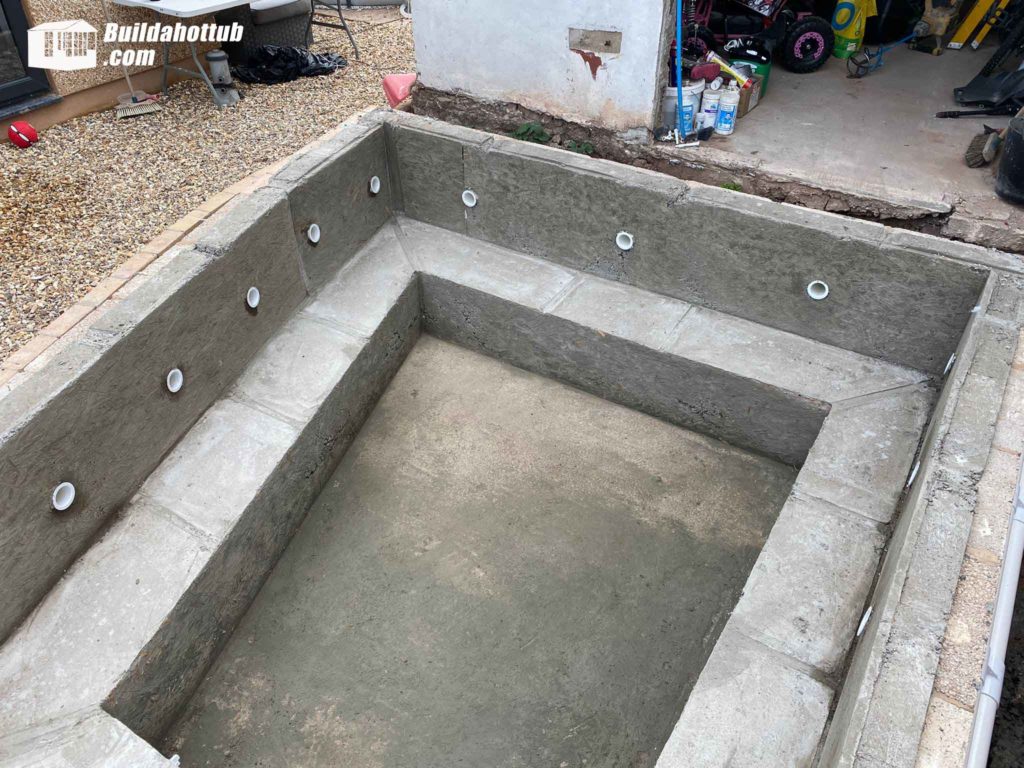
You can see in the pictures above that Anthony has removed the shuttering (form) from his tub. He was a little concerned that the wall niches were not totally flush to the wall but with a bit of filling around them, that will be totally fine. The jets will cover this and if the wall niche does not sit totally flush, a worst case scenario is that air leaks from behind the jet. In a bubbly hot tub, this is really not a problem and happens on my own tub to be totally honest.
It was at this part of the build that things work wise for Anthony got a little hectic. He has a large flat renovation project that took him away from his hot tub build for a couple of months.
February 2022
Just what you need for a cold wet Welsh winter, Anthony has put a roof over his hot tub and it looks fantastic. There has been no real progress on the tub itself, but the external surroundings look great.
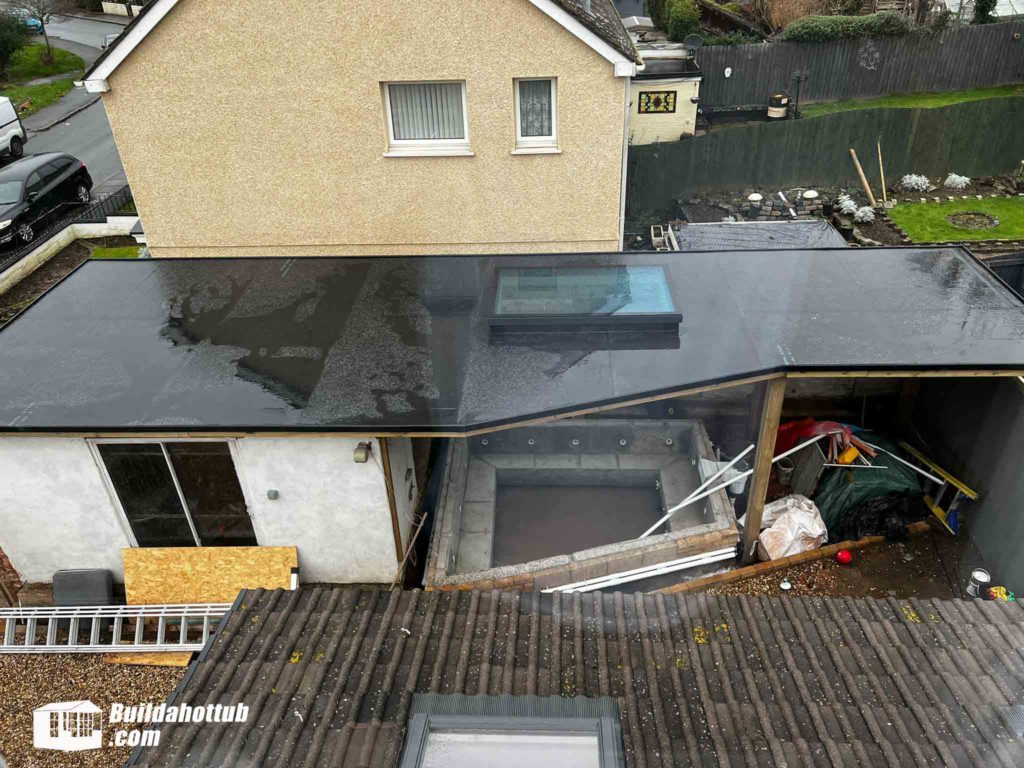
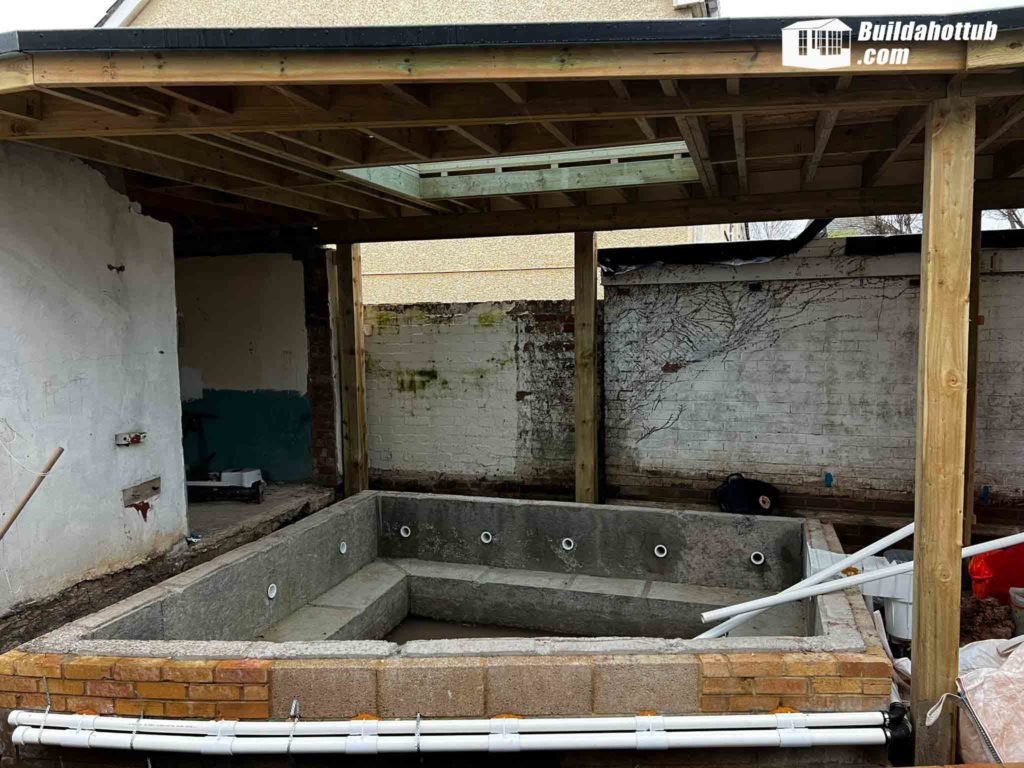
The next steps for Anthony were to think about the control room position. He has plenty of space to the right of the tub where the skimmer is and is planning to put a desk around this to cover the kit.
March 2022
Things always change during the build. For Anthony, he decided that he was going to add an Air Source Heat Pump to his build. This was going to reduce his running costs and it was also going to help with the heat up times. However, we would need to change the plumbing layout a little. It is always best to have the heating and the filtration on a separate “plumbing circuit” from the jets. In that way, the flow is not interrupted at all. So, we needed to do a little redesign. What we needed to do was split the inward drains so that there was a drain on one of the pumps and a drain and a skimmer on the other. This was the only option really without cutting new holes into the base which would not be ideal at all.
Anthony also needed to add two new hot water returns into the tub. This is a little easier to core out. With the popularity of Air Source heating, all of my designs now come with a plumbing layout for an air source heat pump as well.
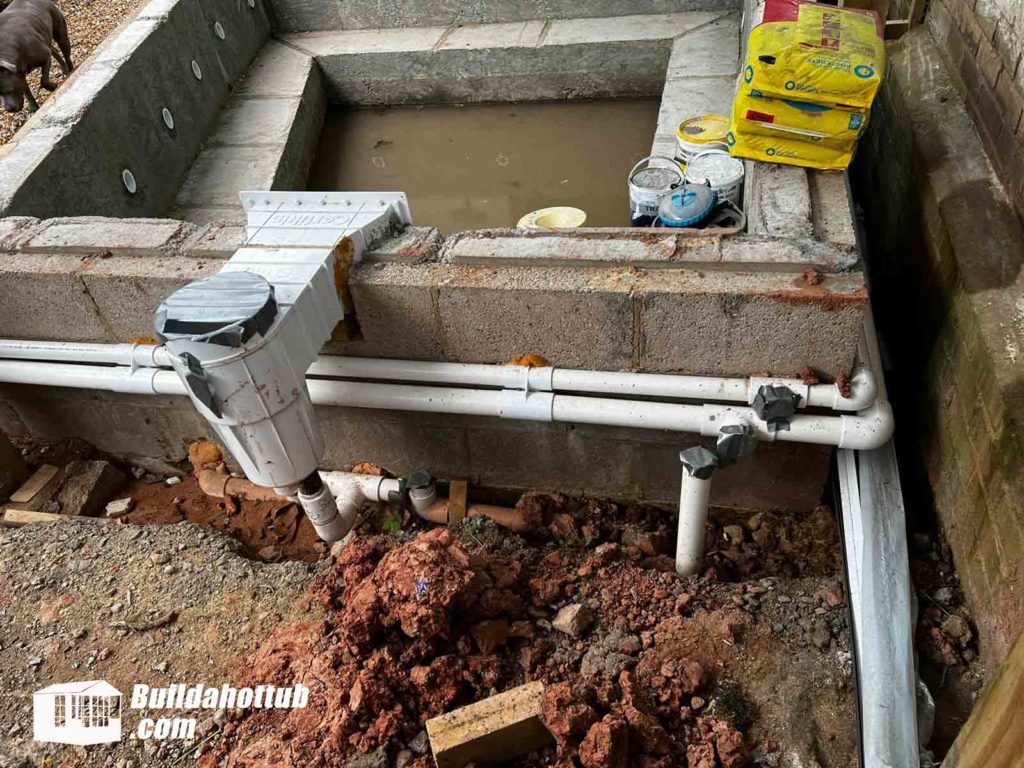
Sometimes with DIY projects, it is just about getting them to work. The fact that we have had to split the drains is not ideal, but it will work and is the easiest way of doing it. How did we know it is going to work – because it is the exact same thing that I did on my own tub to add an air source heat pump. You can read about this here.
May into June 2022
Yes, time flies. It is now a whole year since Anthony started the project and the push is on to get this to completion for the summer. Anthony has ordered all the parts from me, air source, pumps, blower etc etc and it is full speed ahead with his control room.
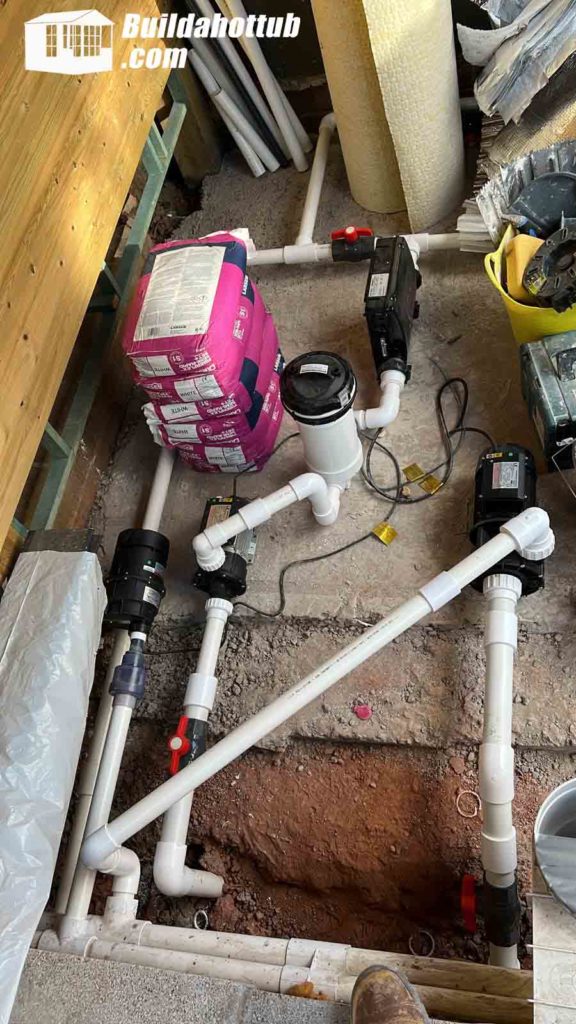
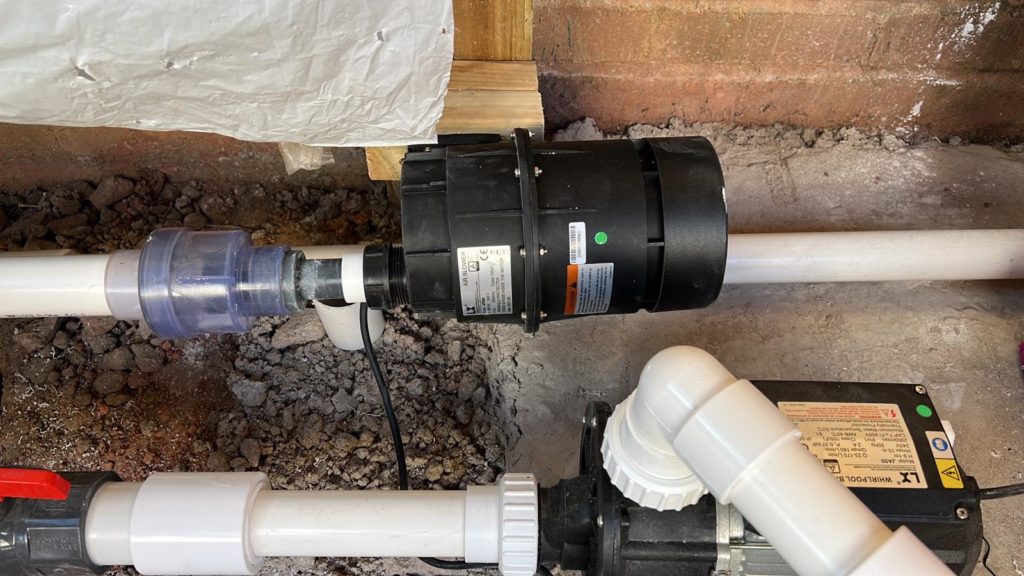
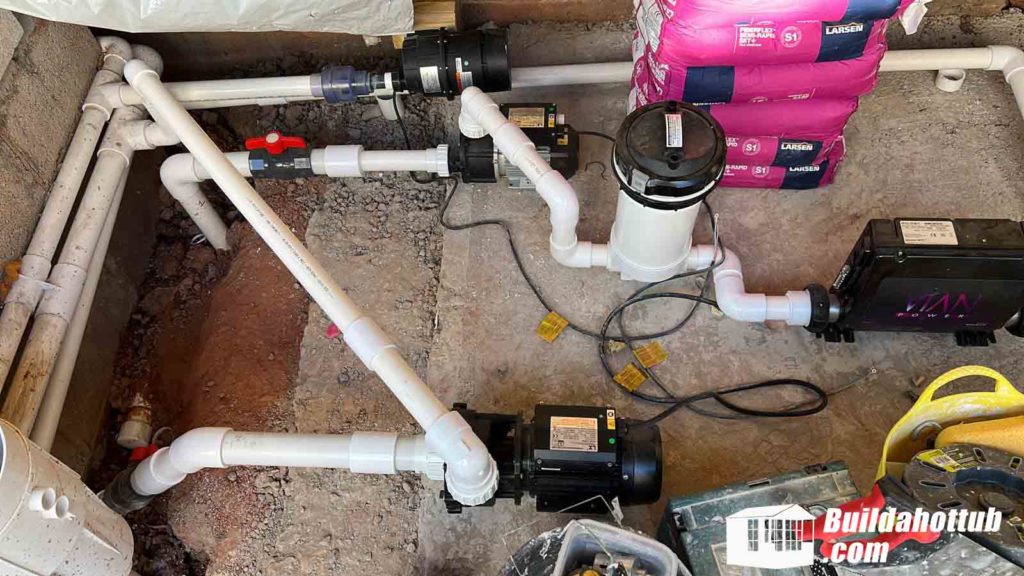
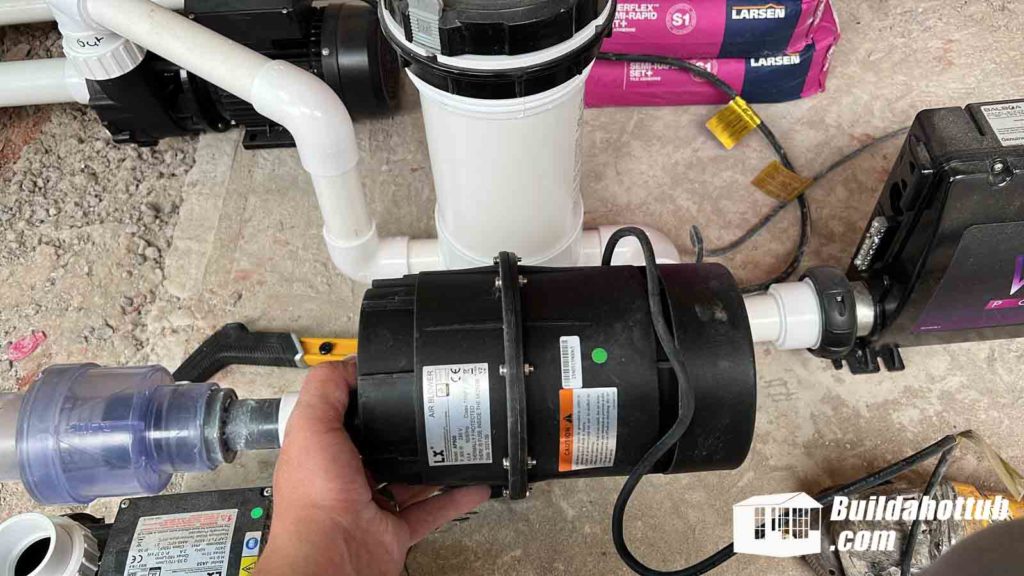
Anthony began planning his control room by layout out all the parts which I highly advise. Last thing you want to do is glue something in place that is incorrect as it has to be cut out – the PVC pipe cement is not forgiving at all.
Bring on the Tiles
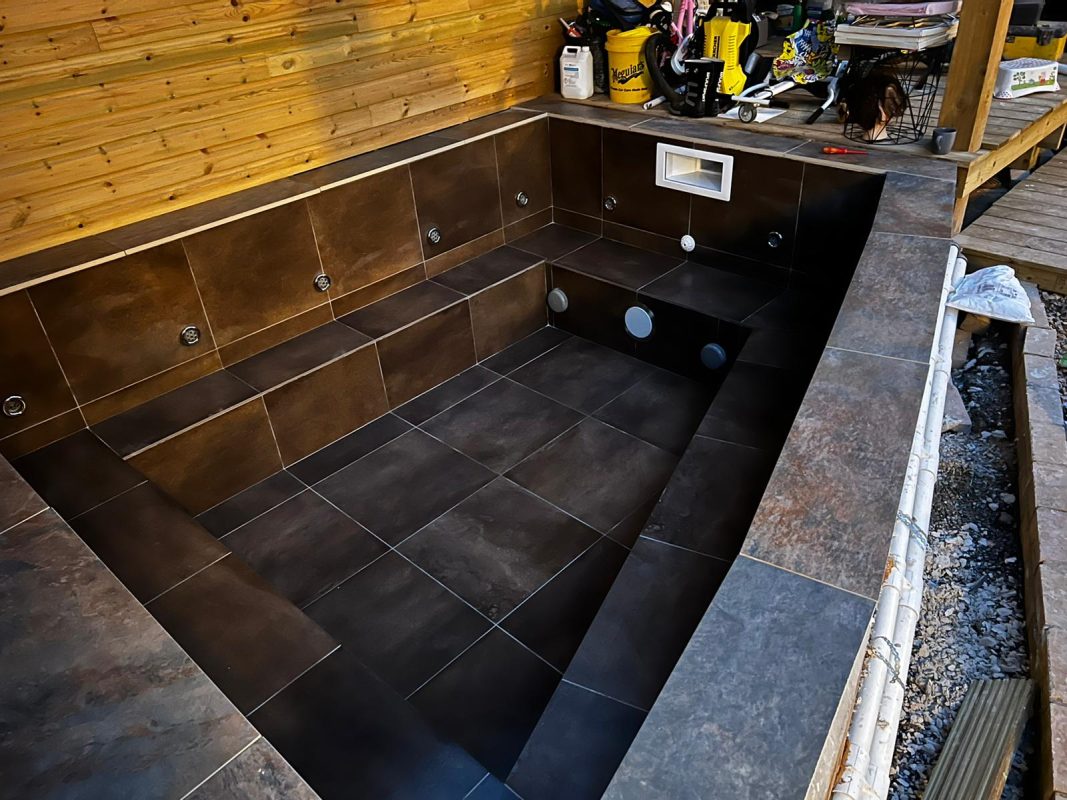
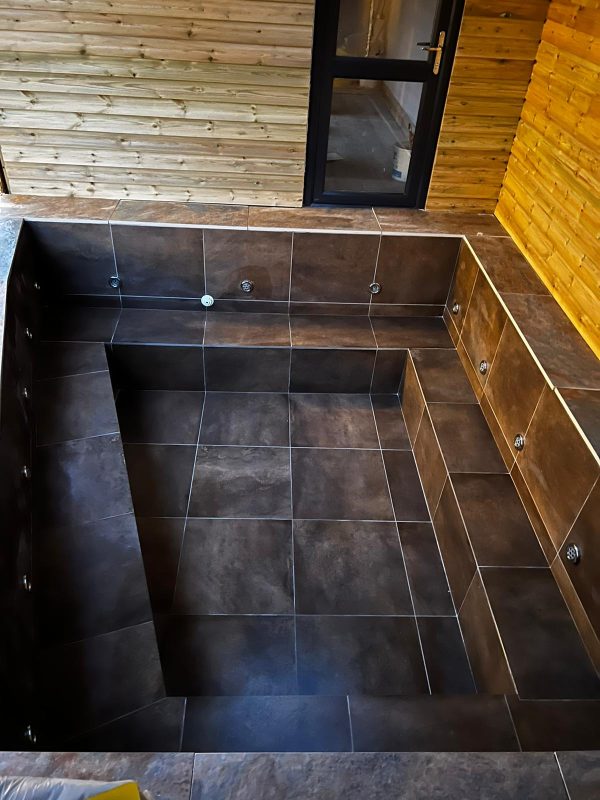
Anthony is now at the stage where he is putting tiles onto his tub. This really transforms the look from a concrete structure int a hot tub. How good does this look!
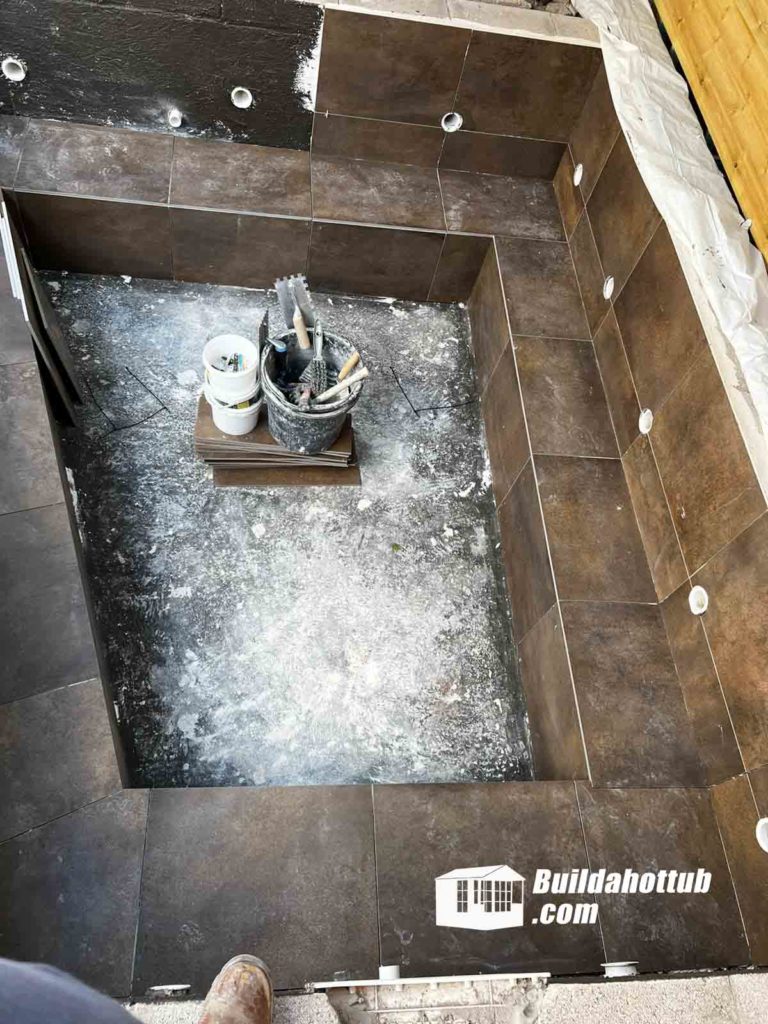
The end is in sight here for Anthony!
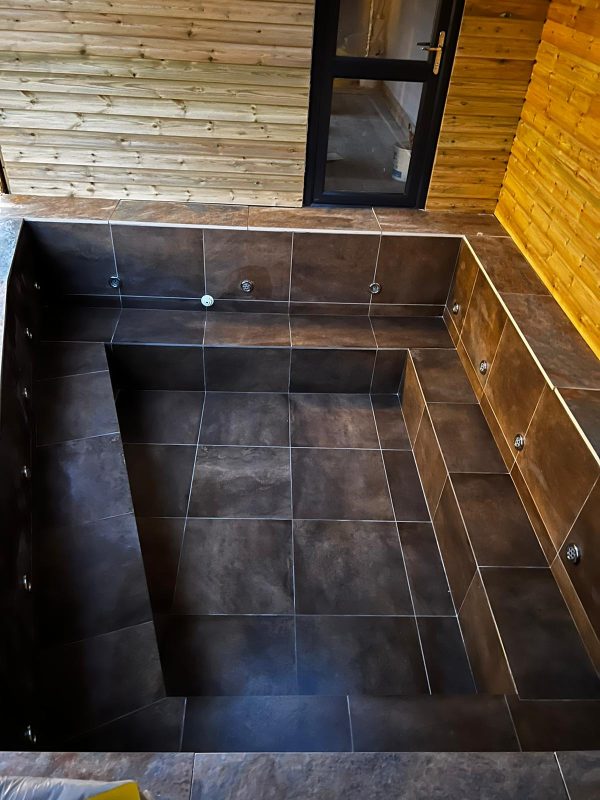
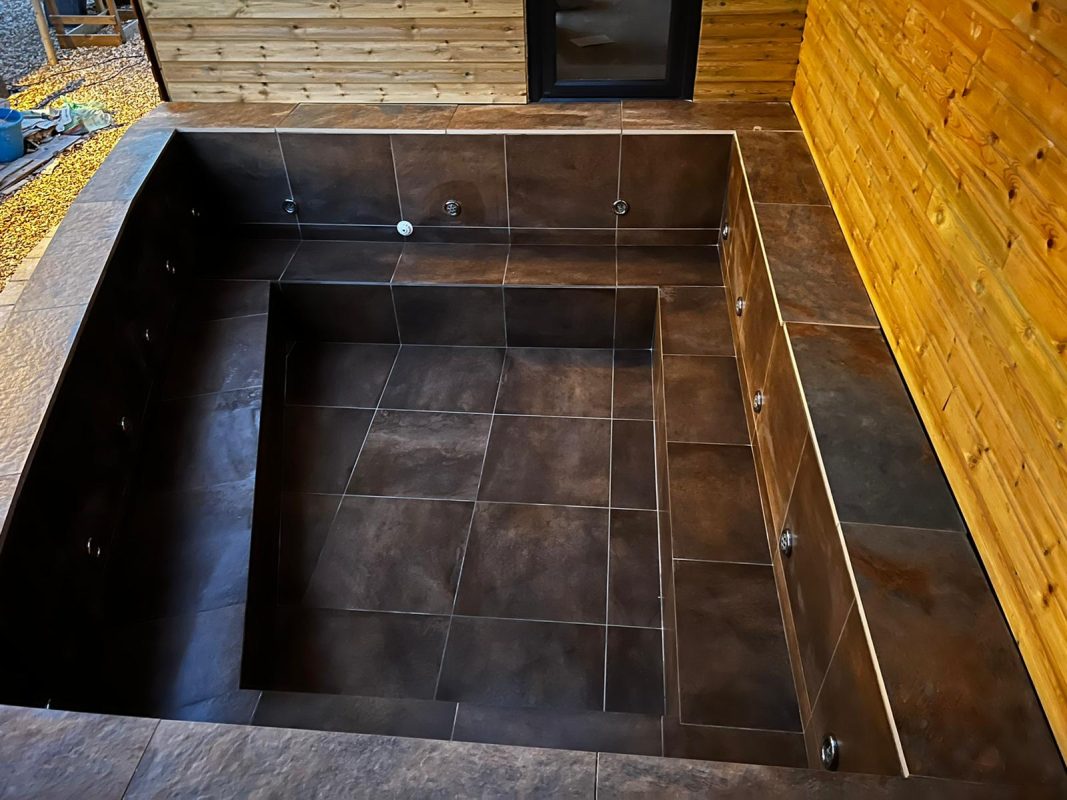
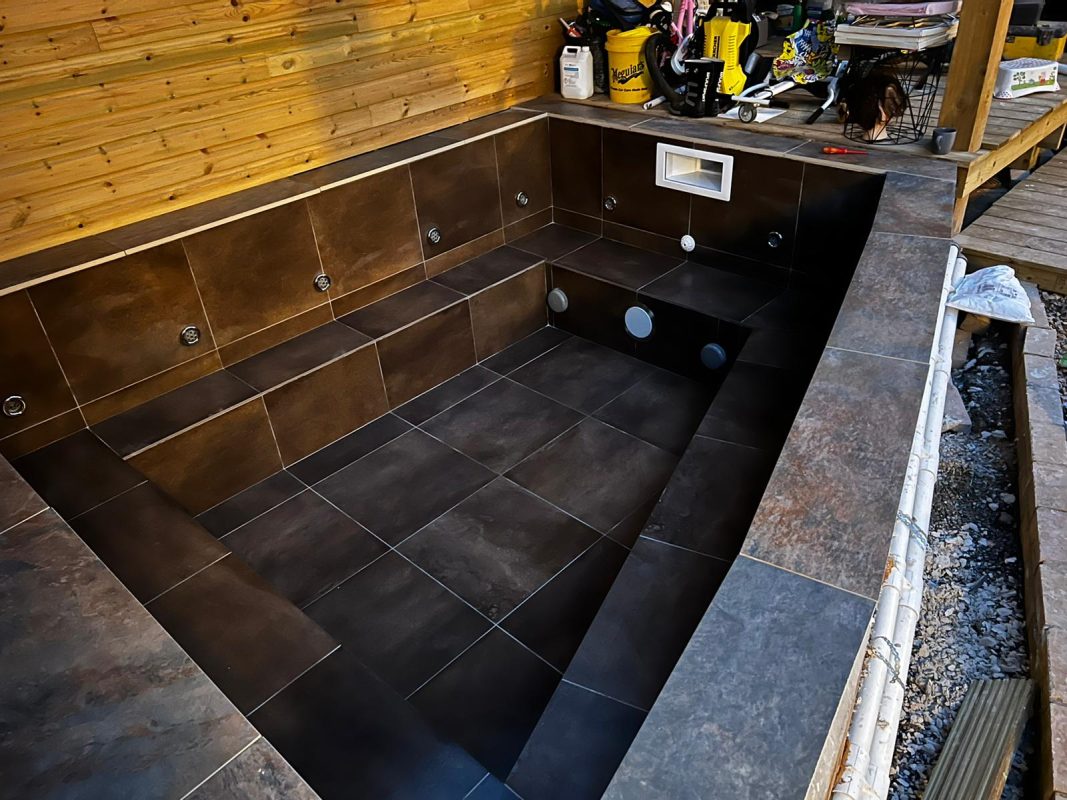
And he has done it!
It was not without its challenges as I am sure Anthony would be testament too, but he got there in the end. There were the usual leaks that needed to be addressed, but Anthony’s hot tub looks fantastic.
Really nice job Anthony! Was well worth all the hard work.
There was the final water testing before he completed the tiles as you can see below.
Can I Help You?
If I can help you in any way I would love to hear from you. You can get in touch using the form below.
Thanks - Andi

