ICF Hot Tub? Have you ever dreamed of having your own hot tub in your garden? If so, you’re not alone. Hot tubs are a great way to relax and unwind, and they can also add value to your home. But what if you don’t have the budget for a pool or spa builder to come and build it for you? That’s where DIY comes in!
In this blog post, we’ll be following along with Adam, a DIY enthusiast who is building his own ICF hot tub using ICF blocks. ICF blocks are insulated concrete forms, which are becoming increasingly popular for DIY projects. They’re lightweight and easy to work with, making them a great option for beginners.
You can also find me on my socials;
Preparation
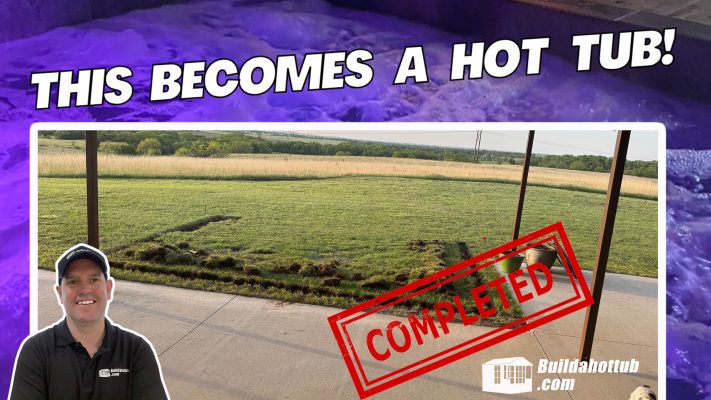
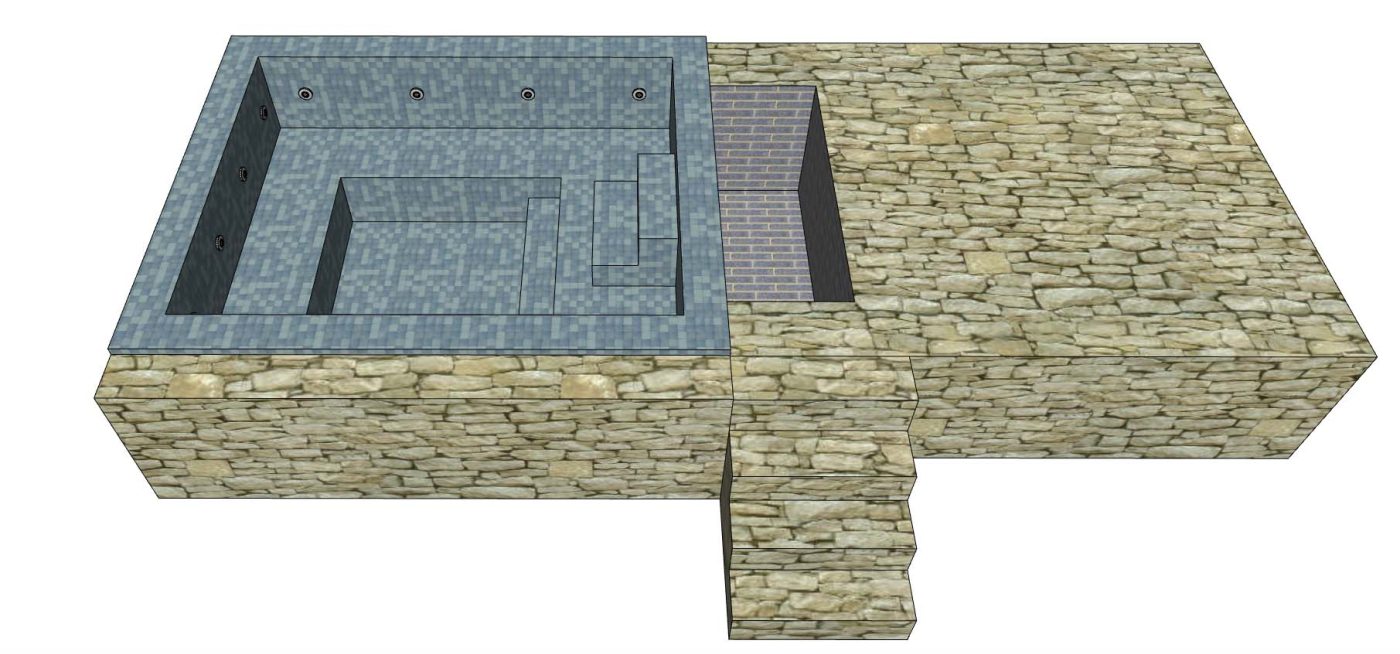
Adam has just finished the build on his new home and what he wanted was to add a hot tub to his back year. Given the space available, this was going to be a custom design project as the designs that I have in my online store, just were not the right dimensions.
Step 1: Digging the Hole
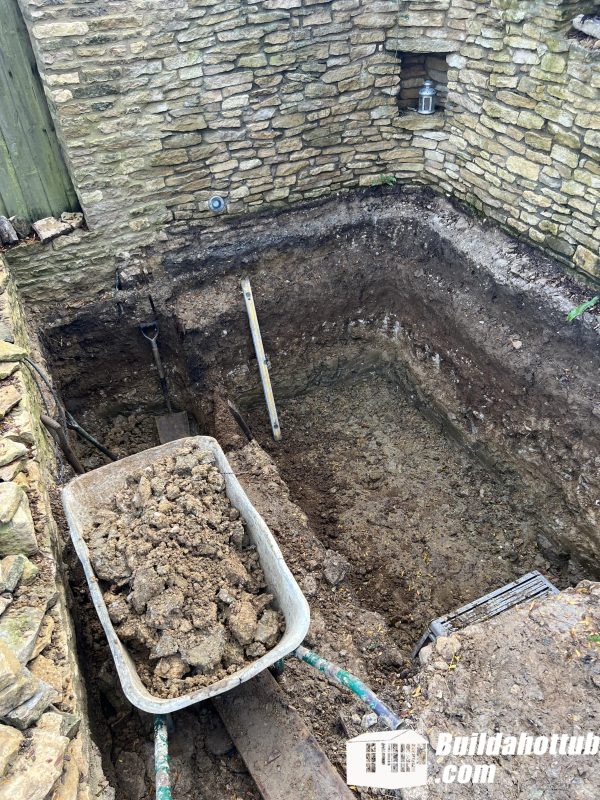
The first step in any hot tub project is digging the hole. This is a backbreaking job, but it’s important to make sure the hole is big enough to accommodate your hot tub. Adam’s hot tub is custom-designed, so he had to dig a hole to fit the exact specifications.
Step 2: Laying the Concrete Slab
Once the hole is dug, it’s time to lay the concrete slab. This will be the foundation of your hot tub, so it’s important to make sure it’s level and stable.
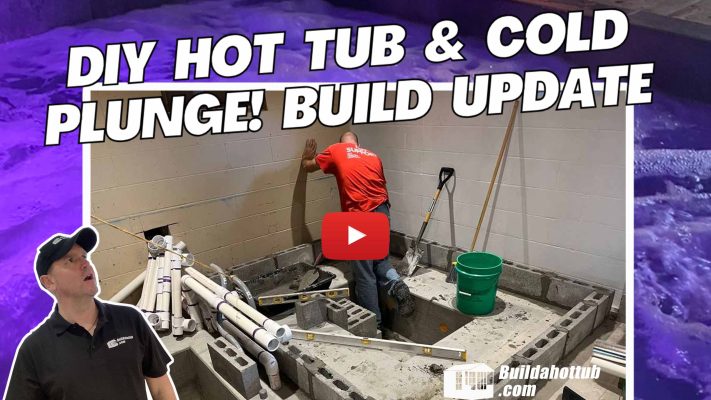
Step 3: Installing the ICF Blocks
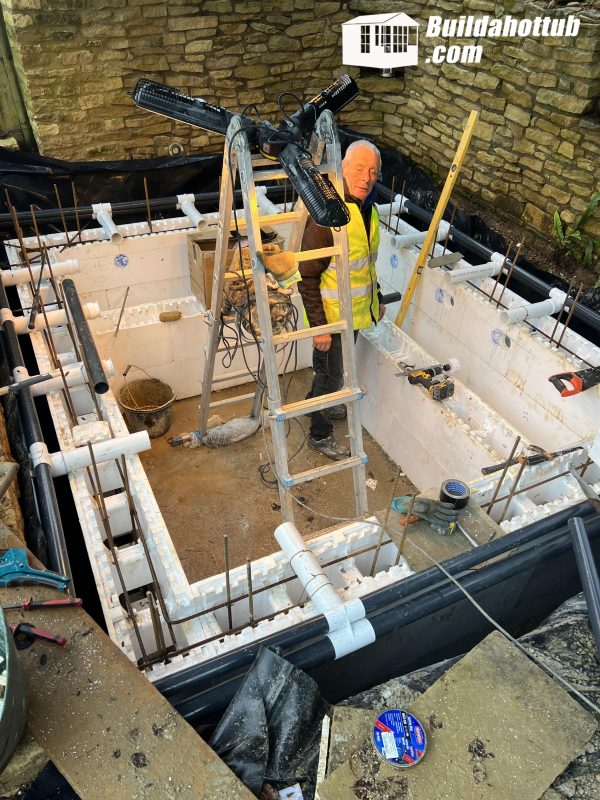
Now comes the fun part: installing the ICF blocks! ICF blocks are like giant Lego blocks that you can easily snap together. They’re made of expanded polystyrene, which is a type of foam that is both insulating and lightweight.
Step 4: Adding the Plumbing
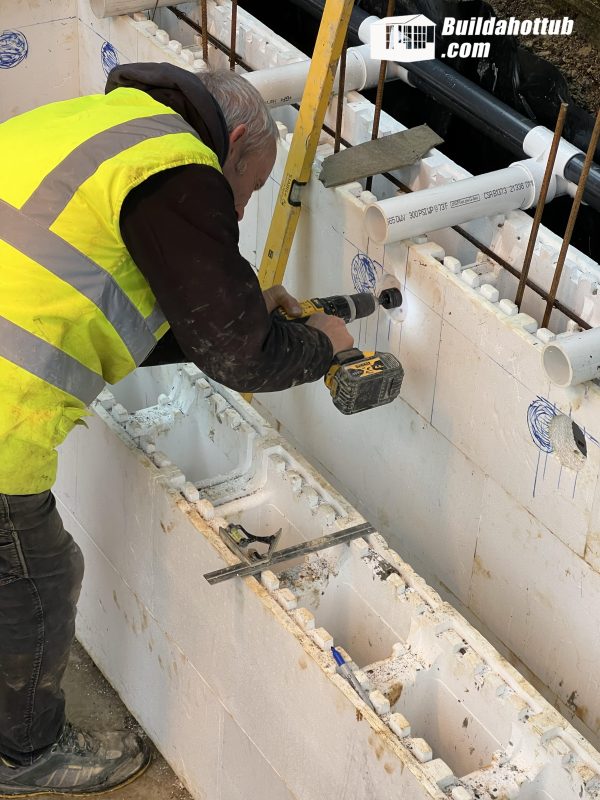
Before you add the rebar, you’ll need to add the plumbing. This is a crucial step, so it’s important to get it right. The plumbing will carry the water to and from your hot tub, so you’ll need to make sure it’s properly installed.
Step 5: Rendering the Surface
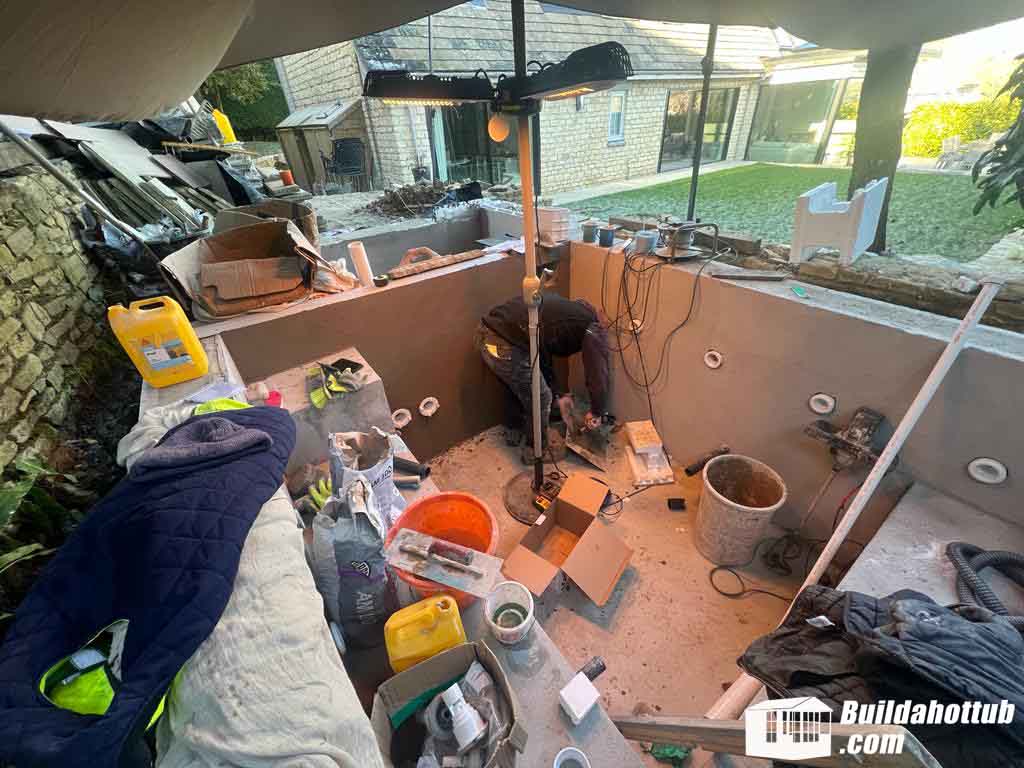
Once the plumbing is in place, it’s time to render the surface of the ICF blocks. This will give your hot tub a smooth, finished look. There are many different rendering materials to choose from, so be sure to do your research to find the right one for your needs.
Step 6: Waterproofing
After the rendering is dry, it’s important to waterproof your hot tub. This will protect it from the elements and prevent leaks. There are many different waterproofing products on the market, so be sure to choose one that is specifically designed for hot tubs.
Step 7: Building the Control Room
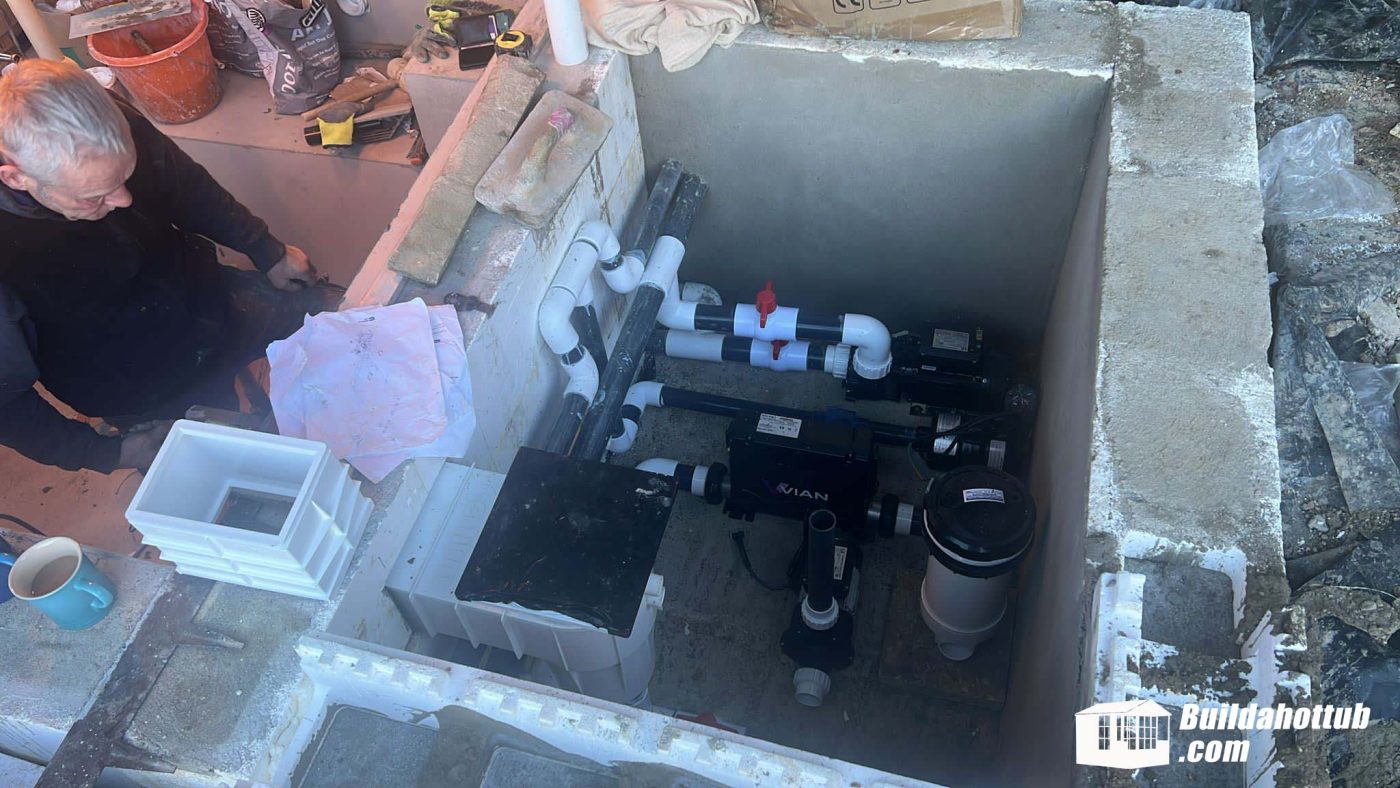
The control room is where you’ll house all of the electrical equipment for your hot tub. It’s important to make sure the control room is large enough to accommodate all of the equipment, and that it’s properly ventilated.
Step 8: Water Testing
Before you tile or finish your hot tub, it’s important to water test it. This will help you identify any leaks or problems. Once you’re sure there are no leaks, you can go ahead and finish your hot tub.
Adam will be doing this next so do check back soon for an update on this project.
Tips for Building Your Own DIY Hot Tub
- Do your research. There are many resources available online and in libraries about how to build a hot tub. Be sure to do your research before you start so that you know what you’re getting into.
- Get help from a friend. Building a hot tub is a big job, so it’s helpful to have a friend or family member to help you out.
- Take your time. Don’t rush the process. It’s important to take your time and do each step correctly.
- Have fun! Building a hot tub should be a fun and rewarding experience. So relax, enjoy the process, and be proud of your accomplishment.
I hope this blog post has inspired you to build your own DIY hot tub. With a little planning and effort, you can create a beautiful and relaxing oasis in your own backyard.
If you have any questions about building a DIY hot tub, please feel free to get in touch; I’m always happy to help!
Early May 2024
Well, it’s been a little bit of time since we last caught up with Adam and his DIY Hot Tub Build. Things have moved on a great deal so I will summarise what he has been up to.
Firstly, there was quite a lot of plumbing to be done so that Adam could hook up his external gas heater. He decided to go with gas rather than air source because of the location.
There was not enough space to get a large air source heat pump into the property without it being located under a window. Just like a split AC system, there is some noise that comes off them and for Adam this simply wasn’t viable.
On the plus side, with the gas heater, Adam will get that tub up to temperature in no time at all.
With the plumbing complete and it was time for Adam to turn his attention to the walls. They needed to be rendered, sealed and then waterproofed. Adam opted to use my European recommendation with is Ardex S7 Plus. It is not the cheapest of materials but it is very good. For those of you in the USA, Hydroban from Latticrete is a great product too that is very accessible from the likes of Home Depot or Lowes.
With the walls waterproofed and the plumbing done, it was time for Adam to test the systems and run the pumps. As a DIYer, pressure testing is not really something that can be done. We don’t tend to have access to the right equipment that is needed. Therefore, the next best alternative is to fill up and run things without the finishes on the surfaces. In that way, it is not too messy if anything needs to be repaired or replaced – something you don’t want to do when you have the final tiles in place in your tub.
I’m pleased to eb be able to report everything checked out ok for Adam.
Next steps – tiles. They have been on order for a number of weeks but are due in soon. I wont be long now until he is soaking in that hot tub!
Check back soon for the next update.
Adam’s DIY Hot Tub is Almost Finished!
Hey everyone,
It’s been a crazy few months for Adam, but he is finally starting to see the light at the end of the tunnel with his DIY hot tub project. As you know, I’ve been documenting the whole process on my YouTube channel and here on this blog at buildahottub.com, and I’m so excited to share this latest update with you.
The tiles are finally in place and I’m absolutely loving how they look! Adam went with a blue mosaic tile that really pops against the Cotswold stone. It’s exactly the look he was going for. Currently, he is just waiting for the grout and adhesive to fully cure before he can really enjoy it.
Adam is also in the final stages of building the cover for the underground control room. It’s been a bit of a challenge but he’s almost there. Once that’s done, he’ll be able to fully seal up the control room.
The best part? The custom hot tub cover that I have had made for Adam is due to arrive next week! I can’t wait to see how it looks and how well it fits.
I’ve been getting a lot of questions about how to prepare for the first fill, so I wanted to share a few tips:
- Remove Debris: Before filling the tub completely, run the pumps for a short time to flush out any dirt or debris.
- Protect Your System: Remove the filter and use a submersible pump or wet vac to extract any remaining particles.
- Prevent Airlocks: Turn on the jets when the water level gets to halfway up the tub as you fill to avoid airlocks and ensure proper water circulation.
Adam is so close to being able to relax in his very own DIY hot tub! Stay tuned for the grand finale. I’ll be sure to share a video as soon as it’s filled and ready to go.
Thanks for following along on this journey!
Can I Help You?
If I can help you in any way I would love to hear from you. You can get in touch using the form below.
Thanks - Andi
 Hi, Andi here. I own Buildahottub.com and also write all of the articles and info pages on the site. Some years back now, I built my own hot tub but struggled to find the information I needed. So, once my tub was complete, I started this website to help others in their own pursuit of hot tub and plunge pools DIY building information.
Fast forward to 2025, I've helped over 1400+ DIY customers just like you all over the world build hot tubs and pools. Have a good look around the site, there are lots of resources here. Please do get in touch if I can help you. - Cheers, Andi


