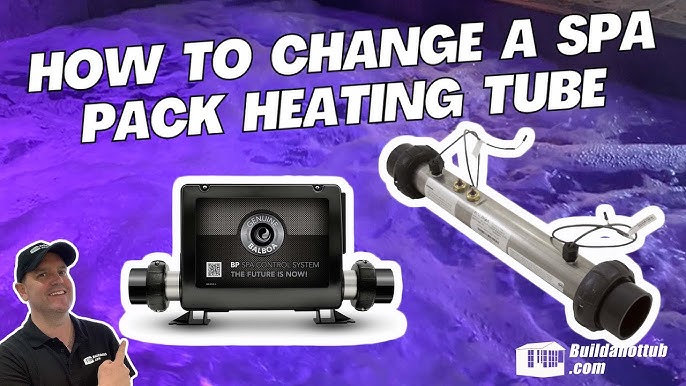
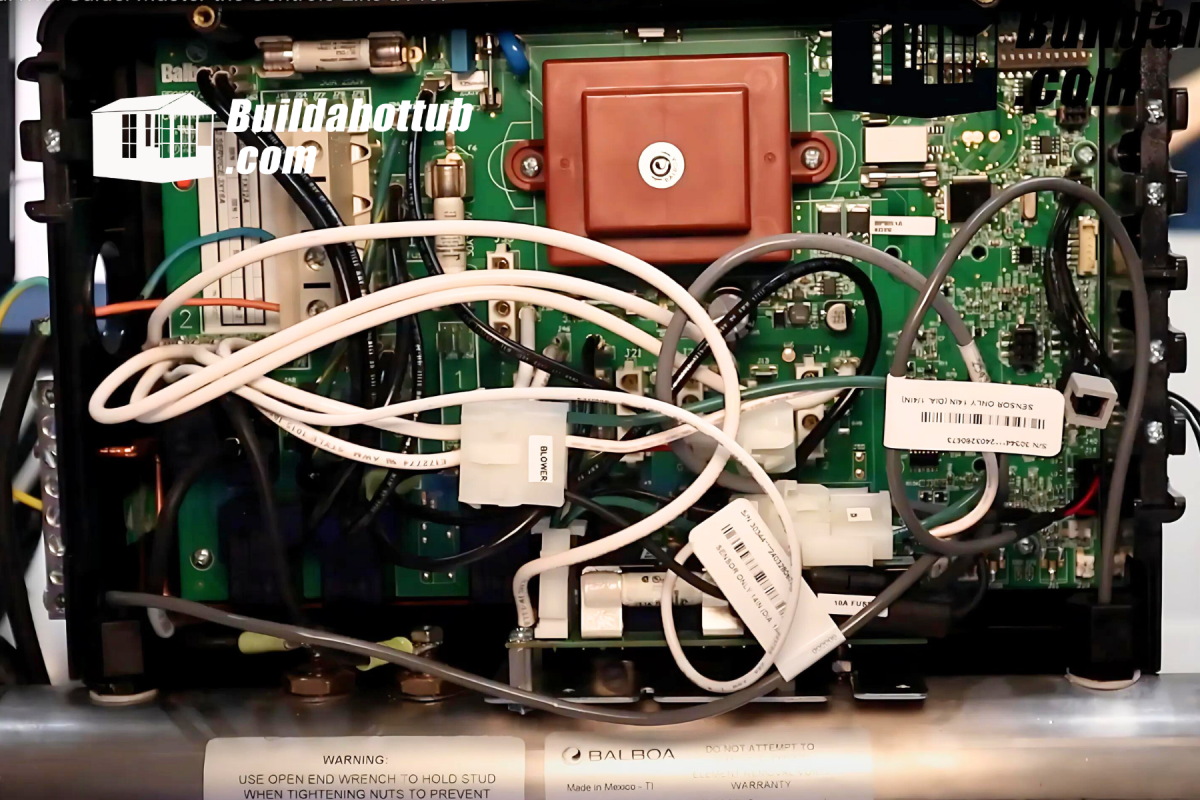
Has your hot tub heater given up the ghost? Don’t worry—this guide will teach you how to replace a heater on a Spa pack. While we’ll focus on the Balboa model, these steps can be applied to many other spa packs as well.
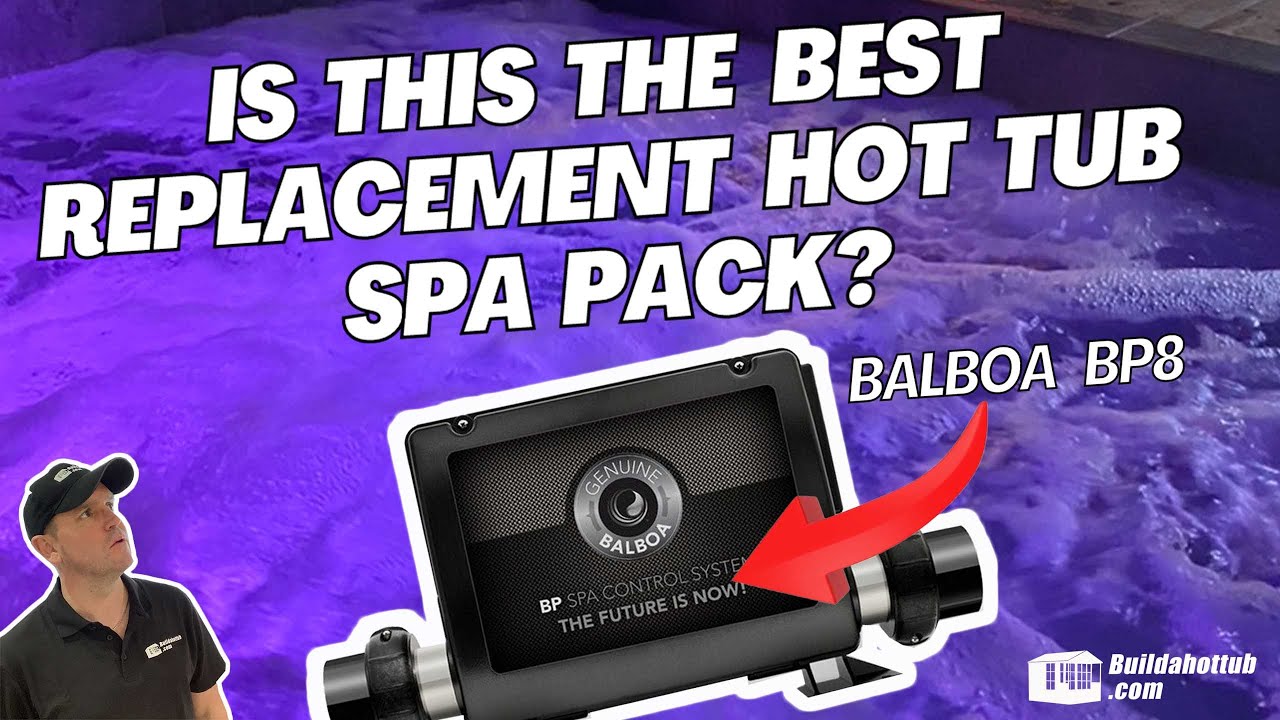
Your spa pack is the most essential part of your hot tub setup. It’s the brains behind the entire system, controlling all the different parts to make them work together.
Navigating a spa pack can be complicated, especially if you’re new to it.
Your spa pack is the most essential part of your hot tub setup. It’s the brains behind the entire system, controlling all the different parts to make them work together.
Navigating a spa pack can be complicated, especially if you’re new to it.
Everyone wants to know what the cheapest hot tub to build is. I’ve been asked this question many times, and here’s an answer that paints a complete picture.
Before proceeding, let me clarify what a hot tub is. I’m not talking about those holes in the ground heated with fire. That’s not what I’m about. My definition of a hot tub is one that has a pump, a filtration system, jets, and the other things that come with a hot tub.
Before moving onto what the cheapest hot tub is, let’s look at which ones are far from cheap.
Plastic shell tubs, block or concrete builds, and in-ground hot tubs are far from cheap. They require significant work and time to build and require custom plumbing and so much more.
Cedar, timber, or other lumber has also become a costly option due to the high cost of wood over the past few years.
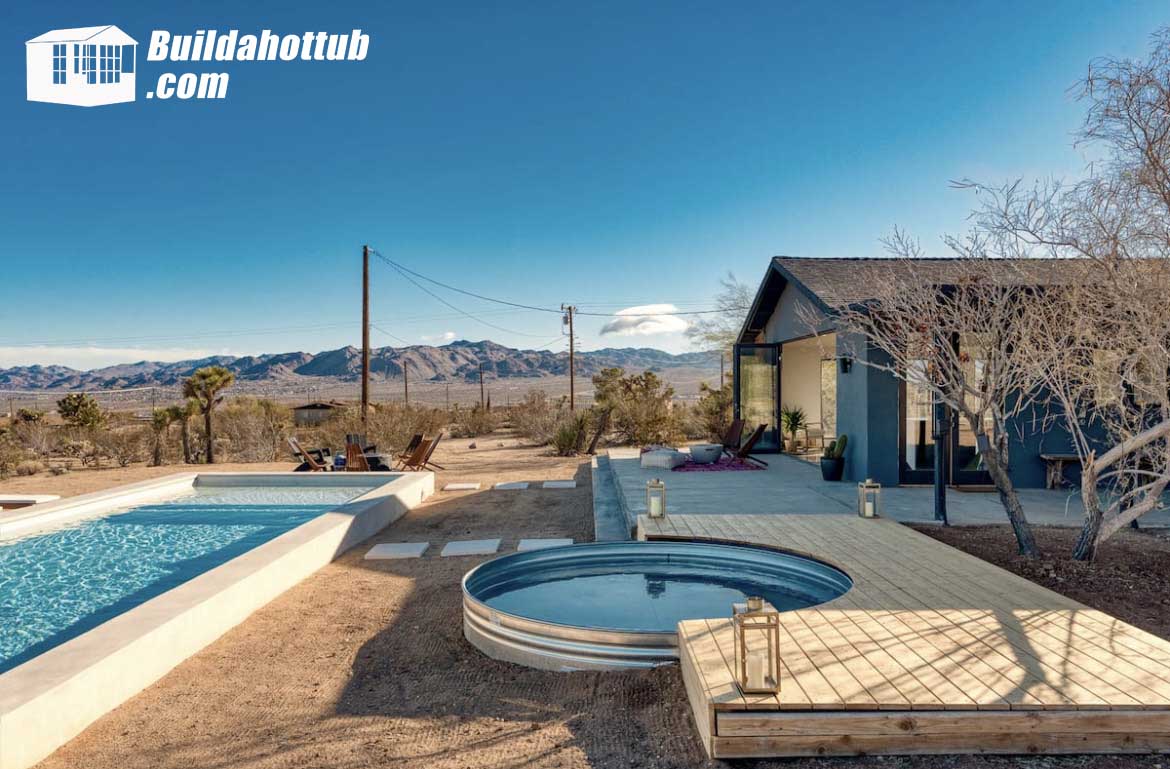
The cheapest hot tub is also my second favourite, right behind the in-ground block or concrete hot tub. This is a stock tank hot tub. It is also known as a hillbilly or cowboy hot tub. These hot tubs rely on an animal feeder as their central basin, making for a very cool and simple setup.
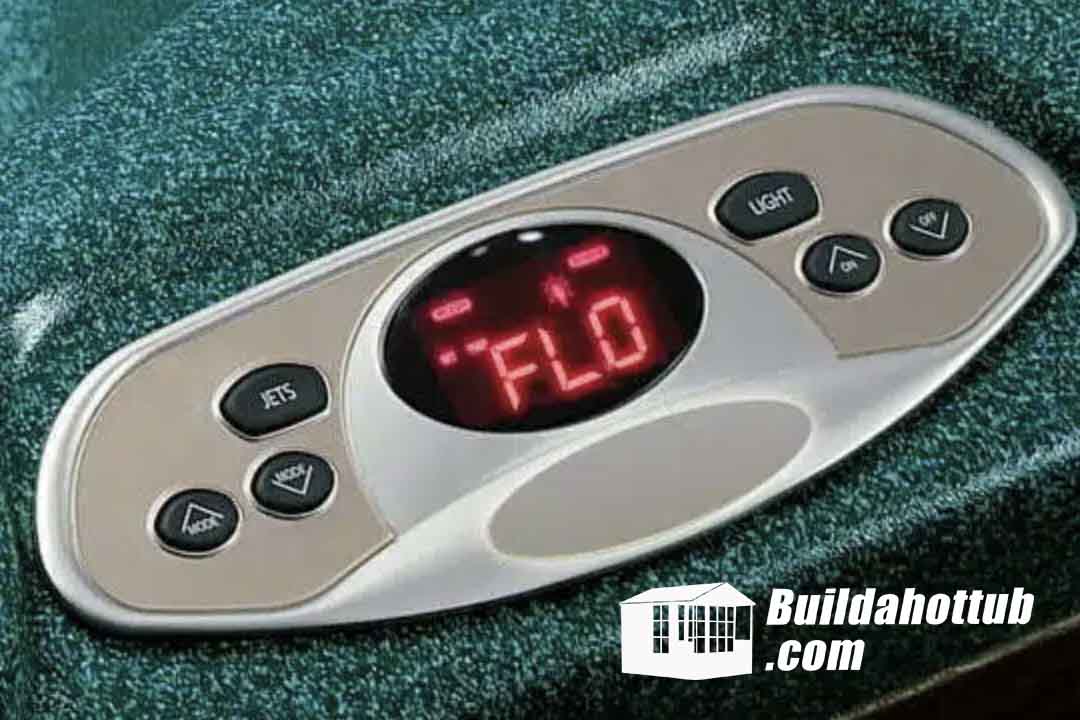
Have you just turned on your HotTub and seen the “FLO” error? If you’re here, that’s probably the case.
Don’t worry—I’ve got you covered! Let’s explore what an FLO error in your hot tub is and what could be the possible causes for it.
What is a FLO Error?
A FLO error, which looks something like the picture below, is one of the most common hot tub errors. It will pop up on your control display and prevent the hot tub from heating up.
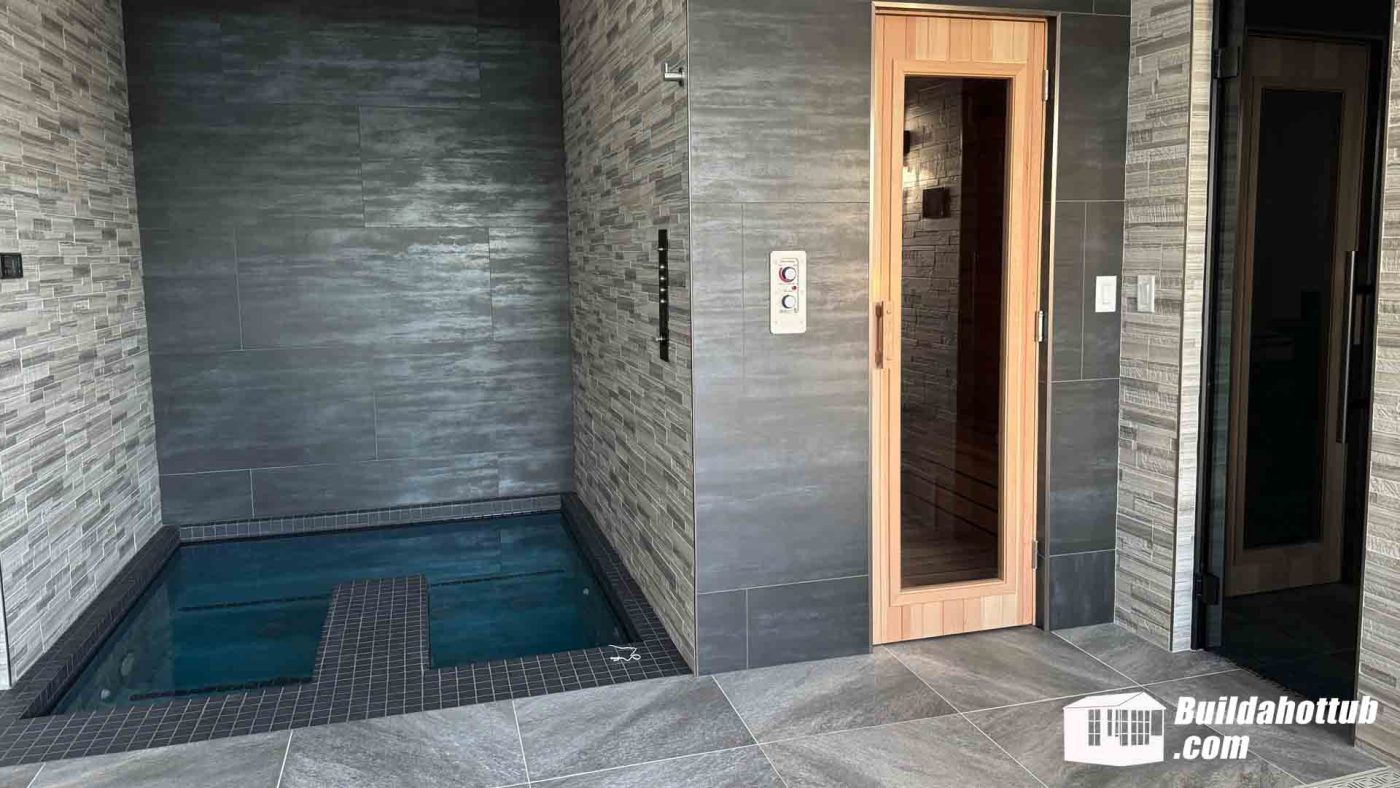
A DIY Cold Plunge and a hot tub combined? Is that even possible? It certainly is and in this article, I will walk you through a project that I designed for Kyle in the USA.
The Requirement
The client, Kyle, contacted me a while back regarding designs for a hot tub that can be converted into a cold plunge and vice versa for the wellness centre he was building on his property.
I’m calling this a wellness centre rather than “an extension” because you will see in the images below, the end result with cold plunge, sauna and steam room looks more like something you find in a high end hotel than in your back yard.
Kyle knew what he wanted and gave me specifications such as massage jets, the ability to stand in the cold plunge, and, of course, the ability to convert from one to the other.
He asked me to design these plans, and I created the concept for Kyle.
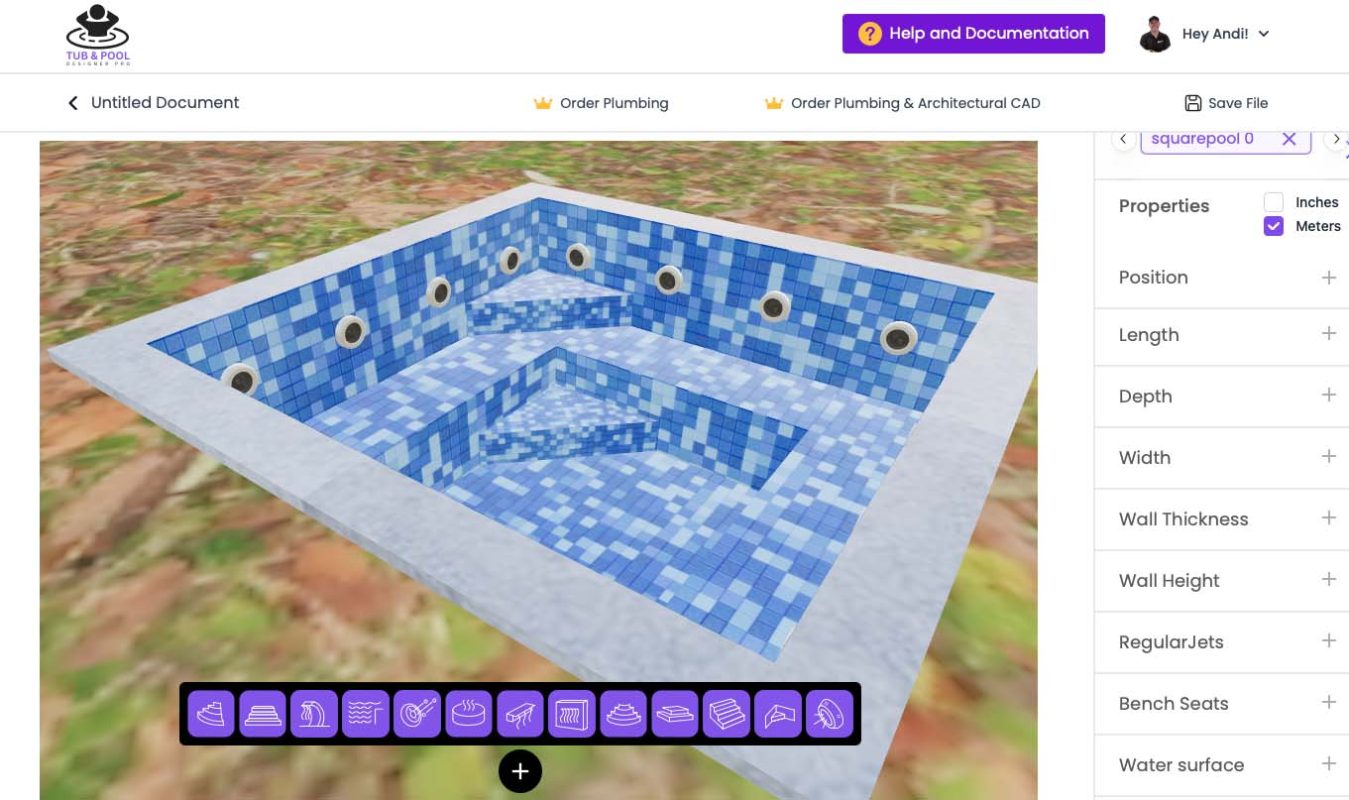
Tub & Pool Designer Pro Software – what is this all about?
It seems such a long time ago that I wrote the initial version of buildahottub.com website which was essentially a single web page. That page still exists today and explains how I went about building my own hot tub step by step with all the photos that I took.
I couldn’t find the information I needed so I thought that when I was done, I would write it up so others could do the same.
Fast forward quite a few years and here we are today. The website is totally different – there are hundreds of articles covering all aspects of building a hot tub. I have plans that you can purchase – an online courses that you can take and parts that you can buy too. Not to mention the 8K subscribers and over 1000 videos that I have published on YouTube all around this hot tub and plunge pool niche. Directly as customers, I’ve helped over 1300 of you DIYers build hot tubs and plunge pools and many more indirectly by the website and YouTube Channel.
Who knew that building my own hot tub would eventually turn into a business – well it has, and I love every second of what I do.
One of the most popular questions I get asked is whether you can build a DIY lap pool in your backyard. The short answer is YES! You can!
For those who don’t know what a lap pool is, it’s a regular pool with longer, narrower dimensions so you can swim laps in your pool without needing a swim jet.
Here’s a few things to watch out for when constructing your Lap Pool
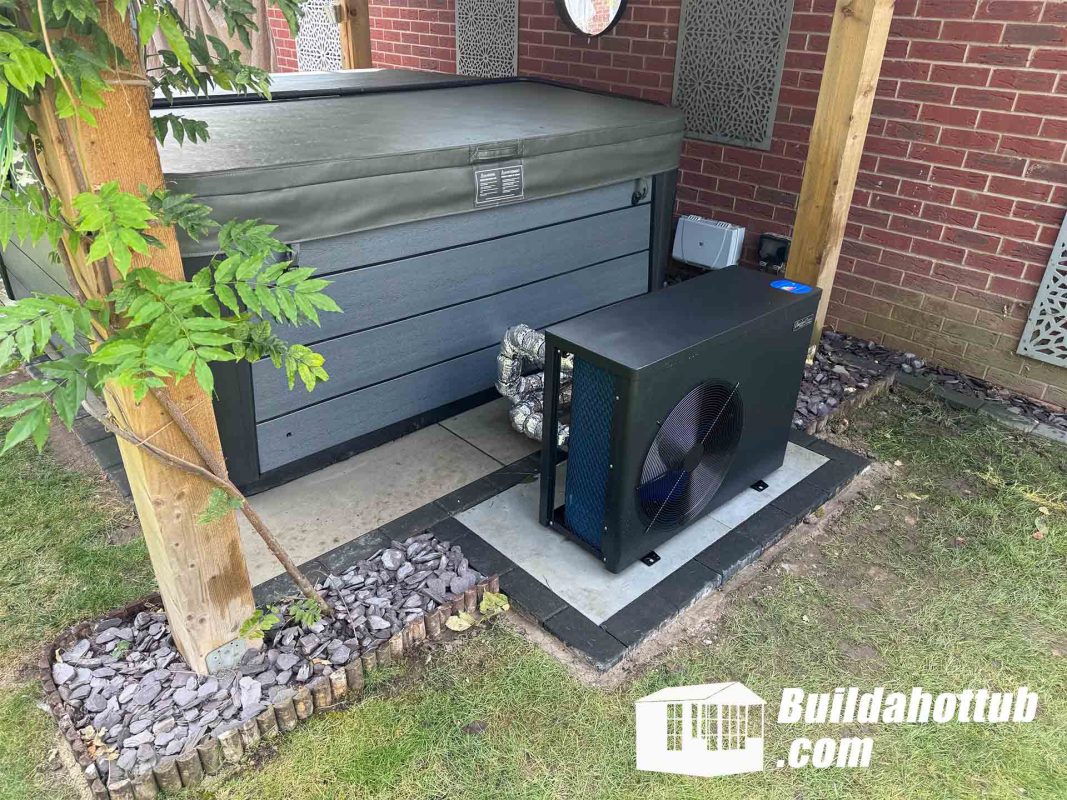
An air source heat pump is a magical invention. It’s a far more efficient way to get your hot tub to the right temperature. In my own case, it saved me as much as 60% in energy costs. Given the right circumstances, it can be a rewarding investment.
Installing an air source heat pump could be confusing, but I am here to help you out with a step-by-step guide.
Here’s a recent example of one of my clients, Chris, who connected with me via email, and we went through the process of installing an air source heat pump together with a few interesting discoveries along the way.
We’ve been following the progress of Paul in the UK and his DIY hot tub for some time on this blog and my YouTube Channel.
In this video, Paul walks us around his hot tub and explains some of the features and intricacies of the design.
Check out the video!

