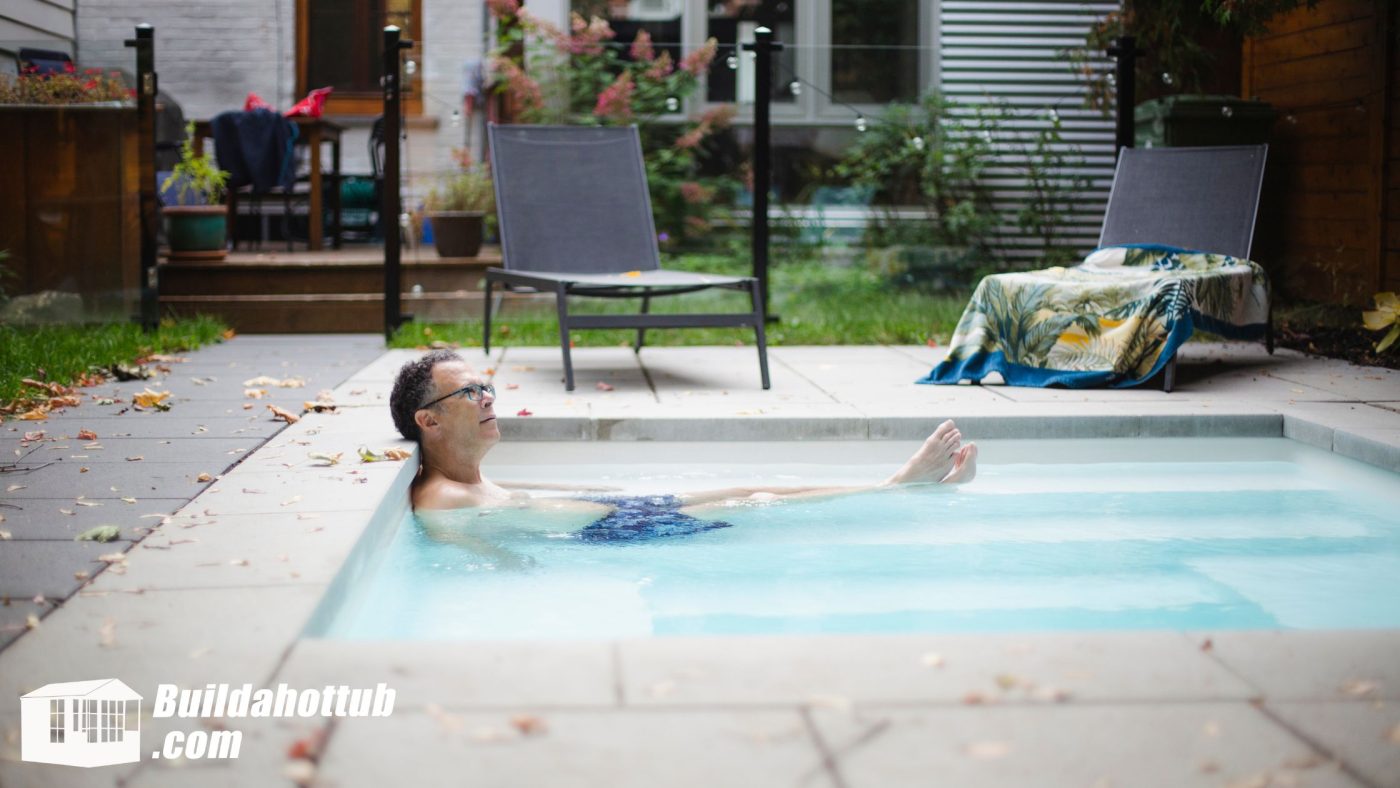
Are you looking for a refreshing way to cool off during those hot summer months? Have you considered building your own DIY dipping pool? Not only can it be a fun and rewarding project, but it can also add value to your property and provide a relaxing oasis for you and your loved ones to enjoy.
In this blog post, we’ll explore the steps involved in building a DIY dipping pool, from planning and design to construction and maintenance. Whether you’re a seasoned DIYer or a first-time builder, this guide will help you create the perfect backyard retreat to beat the heat and unwind in style.
So grab your tools and let’s dive in!
What design considerations are there for a dipping pool?
Designing a dipping pool requires careful consideration of various factors to ensure the pool meets the functional and aesthetic requirements of the user. Here are some important design considerations to keep in mind:
- Size and Shape: The size and shape of the pool will depend on the available space and the intended use. If it’s meant for a small backyard, it might be best to opt for a circular or square pool. If the dipping pool is intended for exercise, it should be large enough to accommodate the user’s movements.
- Depth: The depth of the pool should be shallow enough for standing and dipping, but deep enough to allow full-body submersion. The recommended depth for a dipping pool is typically between 3 to 4 feet.
- Material: The material used for the pool should be durable, waterproof, and non-slip. Popular options include concrete, ICF of CMU blocks.
- Heating and Circulation: Depending on the location and climate, heating and circulation systems may be necessary to ensure the water stays warm and clean. A simple circulation system with a filter and pump can be effective in keeping the water clean, while a heater can maintain a comfortable temperature.
- Lighting: Adequate lighting is necessary for safety and aesthetics, especially if the pool will be used at night. Options include underwater lighting or overhead lighting surrounding the pool area.
- Landscaping: Landscaping can add to the overall aesthetics of the dipping pool area. Consider adding greenery or features such as fountains or waterfalls to enhance the relaxing atmosphere.
- Safety Features: Safety features such as non-slip surfaces, fencing, and covers should be included to ensure the safety of the users, especially if the pool will be used by children or pets.
By considering these design considerations, you can create a functional and enjoyable dipping pool that meets your specific needs and preferences.
What options are there for building the walls of a dipping pool?
There are various options for building the walls of a dipping pool. Here are some options to consider:
- CMU Block: Concrete Masonry Unit (CMU) blocks are precast concrete blocks that can be used for pool walls. They are durable and strong, and can withstand high levels of pressure. CMU blocks are also resistant to fire, insects, and rot. The main advantage of CMU blocks is their affordability compared to other options.
- Concrete Pour: A concrete pour involves pouring concrete into a form to create the walls of the pool. Concrete is a strong and durable material, and can be customized to fit the specific needs of the pool. It can also be stained or stamped to create a more decorative look. The main advantage of concrete pours is their versatility in terms of design and customization.
- ICF Blocks: Insulated Concrete Forms (ICF) blocks are made of polystyrene foam, which is reinforced with steel rebar and filled with concrete. They are energy-efficient and offer excellent insulation, which helps maintain the water temperature in the pool. ICF blocks are also strong and durable, and can withstand extreme weather conditions. The main advantage of ICF blocks is their energy-efficiency and insulation properties.
Each of these options has its own unique benefits and drawbacks, so it’s important to consider your specific needs and preferences when choosing the material for your dipping pool walls.
Here are the benefits and drawbacks of each of the wall construction options for a dipping pool:
CMU Block
Benefits:
- Affordable: CMU blocks are typically less expensive than other options like poured concrete or ICF blocks.
- Durable: CMU blocks are strong and resistant to damage from weather, fire, and pests.
- Easy to work with: CMU blocks are relatively easy to work with and can be cut to fit any size or shape.
- Fire-resistant: CMU blocks are non-combustible and can help prevent the spread of fire.
Drawbacks:
- Limited design options: CMU blocks are not as versatile in terms of design options as other materials, as they are typically plain and lack decorative elements.
- Limited insulation: CMU blocks are not as insulated as other materials, which can lead to heat loss and higher energy bills.
- Requires skilled labor: Proper installation of CMU blocks requires skilled labor, which can increase labor costs.
Concrete Pour
Benefits:
- Versatile: Concrete can be poured into any shape or size, allowing for a wide range of design options.
- Durable: Concrete is strong and long-lasting, making it a great option for pool walls.
- Low maintenance: Concrete is easy to clean and requires minimal maintenance.
- Customizable: Concrete can be stained or stamped to create a unique look.
Drawbacks:
- High labor costs: Pouring concrete requires skilled labor and can be time-consuming, which can drive up labor costs.
- Prone to cracking: Concrete can crack over time, especially if it is not properly reinforced or maintained.
- Limited insulation: Like CMU blocks, concrete is not as insulated as other materials.
ICF Blocks
Benefits:
- Energy-efficient: ICF blocks offer excellent insulation and can help maintain the temperature of the water in the pool, reducing energy costs.
- Durable: ICF blocks are strong and resistant to damage from weather, fire, and pests.
- Customizable: ICF blocks can be cut to fit any size or shape, allowing for a wide range of design options.
- Low maintenance: ICF blocks are easy to clean and require minimal maintenance.
Drawbacks:
- Higher upfront cost: ICF blocks are typically more expensive than other options like CMU blocks or poured concrete.
- Requires skilled labor: Proper installation of ICF blocks requires skilled labor, which can increase labor costs.
- Limited design options: While ICF blocks can be cut to fit any shape or size, they may not offer as many decorative options as poured concrete.
Overall, the choice of wall construction material for a dipping pool will depend on various factors, including budget, design preferences, and desired functionality.
What plumbing considerations are there for building a dipping pool?
There are several plumbing considerations to keep in mind when building a dipping pool. Here are some of the most important ones:
- Water supply: One of the first plumbing considerations for a dipping pool is the water supply. You will need to have a reliable and adequate source of water to fill the pool, as well as a way to regulate the water level. You will also need to consider the water pressure, as high water pressure can damage the pool plumbing and equipment.
- Drainage: Proper drainage is critical to prevent water from overflowing or pooling around the pool. You will need to install a drainage system to ensure that water is directed away from the pool and the surrounding area.
- Filtration: A good filtration system is essential for maintaining the cleanliness and clarity of the pool water. This typically involves a combination of a pool pump, filter, and skimmer to remove debris and contaminants from the water.
- Heating and cooling: Depending on your climate and preferences, you may want to consider installing a heating and/or cooling system to regulate the water temperature. This can be achieved using a heat pump, solar heater, or gas heater.
- Chemical treatment: To keep the water safe and sanitary for swimming, you will need to add chemicals such as chlorine or bromine to the water. This requires a separate plumbing system to distribute the chemicals throughout the pool.
- Water features: If you plan to add water features such as fountains, waterfalls, or jets to your dipping pool, you will need to install additional plumbing to supply and regulate the flow of water to these features.
- Accessibility: Depending on the location and design of your dipping pool, you may need to consider plumbing options to make the pool more accessible for people with disabilities. This could include adding a lift or ramp, or adjusting the pool depth and shape to accommodate different needs.
These are just a few of the plumbing considerations to keep in mind when building a dipping pool.
What are the heating options for a DIY dipping pool?
Here are the advantages and disadvantages of the most common heating options for a DIY dipping pool:
Electric heating
Advantages:
- Easy to install: Electric heaters are relatively easy to install and require minimal plumbing.
- Low upfront cost: Electric heaters are typically less expensive than other options like gas or propane heaters.
- Energy efficient: Electric heaters are efficient and can heat water quickly and effectively.
- Low maintenance: Electric heaters require minimal maintenance and can last for many years with proper care.
Disadvantages:
- Higher operating costs: While electric heaters are efficient, they can be more expensive to operate than gas or propane heaters, especially if you use the pool frequently.
- Slower heating time: Electric heaters can take longer to heat the water compared to gas or propane heaters.
Gas and propane heating
Advantages:
- Quick heating time: Gas and propane heaters can heat water quickly, making them ideal for use in colder climates or for pools that are used frequently.
- Low operating costs: Gas and propane heaters are often less expensive to operate than electric heaters, especially if you use the pool frequently.
- Long lifespan: Gas and propane heaters can last for many years with proper maintenance.
Disadvantages:
- Higher upfront cost: Gas and propane heaters are typically more expensive than electric heaters.
- Higher maintenance costs: Gas and propane heaters require regular maintenance and can be more costly to repair if they break down.
- Safety concerns: Gas and propane heaters can pose safety risks if not installed and maintained properly.
Air source heat pumps
Advantages:
- Energy efficient: Air source heat pumps are highly efficient and can heat water quickly and effectively.
- Low operating costs: Air source heat pumps are typically less expensive to operate than gas or propane heaters, especially if you use the pool frequently.
- Can also cool the water: Air source heat pumps can also be used to cool the water in the pool during hot weather.
Disadvantages:
- Higher upfront cost: Air source heat pumps are typically more expensive than electric heaters.
- Slower heating time: Air source heat pumps can take longer to heat the water compared to gas or propane heaters.
- Noise: Air source heat pumps can be noisy during operation.
Overall, the choice of heating option for a DIY dipping pool will depend on various factors, including budget, climate, and desired heating speed and efficiency. It’s important to do your research and choose a heating option that meets your specific needs and preferences.
Conclusion
In conclusion, building a DIY dipping pool can be a fun and rewarding project, but it requires careful planning and consideration of several factors such as design, materials, plumbing, and heating. With the right guidance and support, you can create a beautiful and functional dipping pool that meets your specific needs and preferences.
Can I help you with your DIY Dipping pool design? If so, please do get in touch.
looking for hot tub & pool parts?
I have everything you need....
If you are looking for Hot Tub & Swimming Pool Parts, either for your DIY Hot Tub, plunge pool or swim spa build, or you are looking for parts to repair your pool or hot tub - then check out my USA & UK stores below.
I carry 30K+ product lines across the stores
![]()
Can I Help You?
If I can help you in any way I would love to hear from you. You can get in touch using the form below.
Thanks - Andi
 Hi, Andi here. I own Buildahottub.com and also write all of the articles and info pages on the site. Some years back now, I built my own hot tub but struggled to find the information I needed. So, once my tub was complete, I started this website to help others in their own pursuit of hot tub and plunge pools DIY building information.
Fast forward to 2025, I've helped over 1400+ DIY customers just like you all over the world build hot tubs and pools. Have a good look around the site, there are lots of resources here. Please do get in touch if I can help you. - Cheers, Andi
Can a Self-Confessed Rubbish DIYer Build a Hot Tub? Meet Matt
his might just be the biggest challenge my DIY hot tub plans have ever faced. [...]
Jun
What I’d Change If I Built My DIY Hot Tub Again
Around eight years ago, I built my own DIY hot tub. You've probably seen it [...]
May
Out With the Cedar, In With an ICF Inground Hot Tub
Right, I've got a brand new project to introduce to the channel today – and [...]
Apr
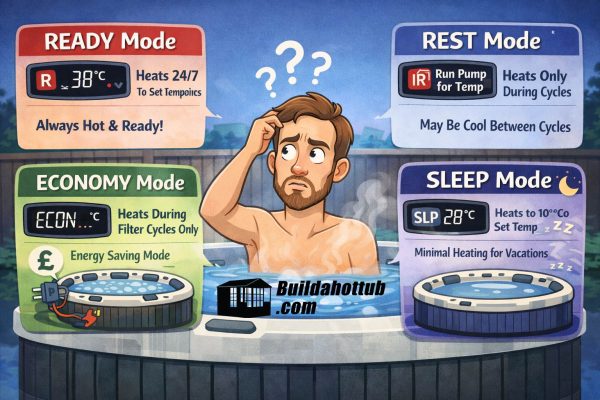
Balboa Heat Modes Explained: Ready, Rest, Economy and Sleep — What They Actually Mean
If you've got a Balboa-controlled hot tub and you're not sure what all those heating [...]
Mar
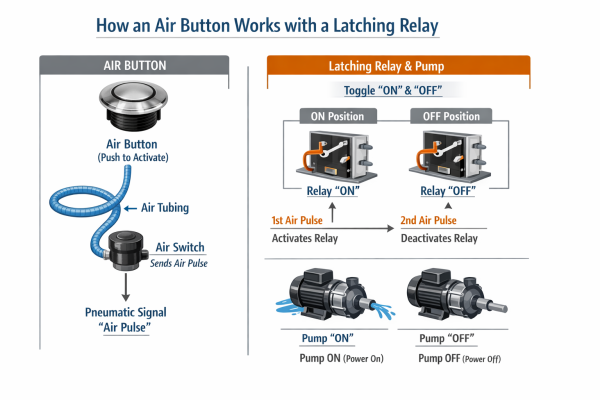
How to Change an Air Button and Latching Relay on a Hot Tub, Pool or Spa Bath
If you've got an air button that's stopped working, or a latching relay that's given [...]
Mar
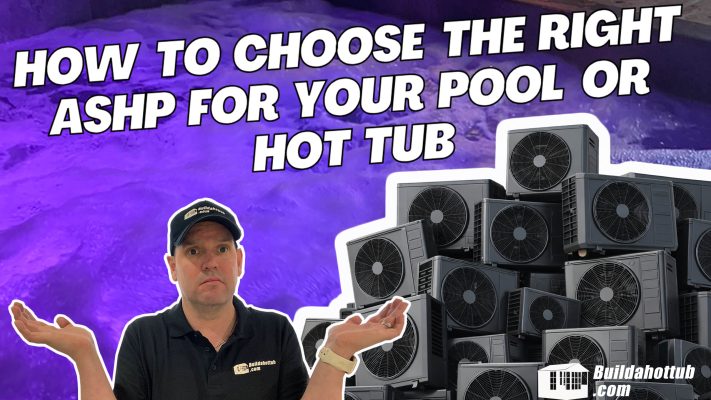
How to Choose the Right Air Source Heat Pump for Your Hot Tub or Pool
With so many air source heat pumps on the market right now, choosing the right [...]
Mar
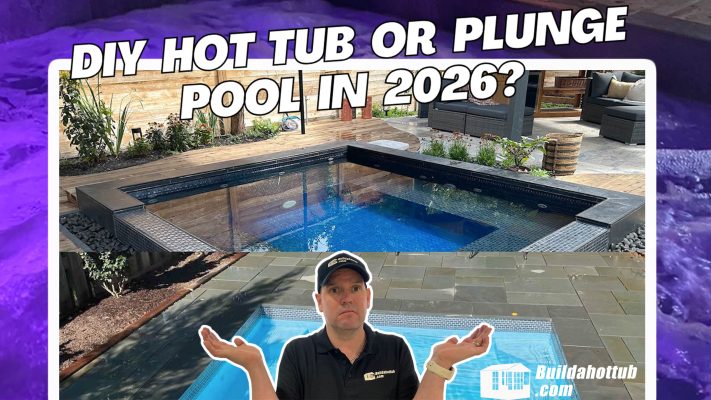
Hot Tub vs Plunge Pool – Which Should You Build in 2026?
Right, this is one of those questions that lands in my inbox on an almost [...]
Mar
Patrick’s Wisconsin Basement Hot Tub & Cold Plunge – Waterproofing, Tiling & a Surprise Water Feature!
We're back with another update from Patrick in Wisconsin, and this one is a big [...]
Feb