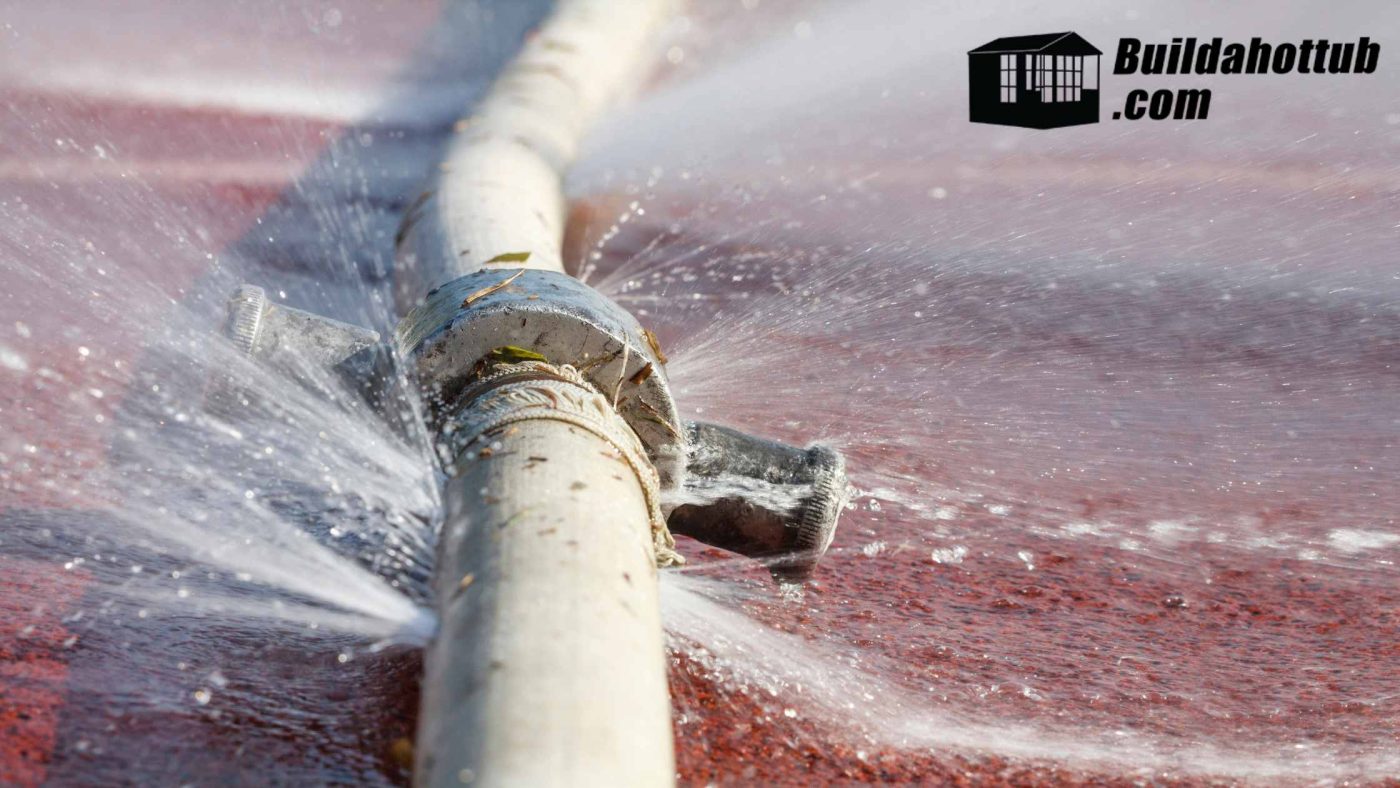
Finding a leak in your hot tub might be one of the most scariest feelings a hot tub owner can have. . At first, you might be tempted to panic at the thought of costly repairs and a lot of problems, technicians, costs, more costs. Stop! Take a deep breath and relax! A lot of Hot Tub leaks are easy to detect and cheap to repair.
In this article, I’ll be going over some of the most common types of hot tub leaks and what you can do to fix that leak!
How to Fix a Leaking Hot Tub Pump
If you own a hot tub, chances are you’ll run into a pump leak at some point. It’s one of those common maintenance issues that often gets overlooked—until you start noticing water pooling where it shouldn’t be. The good news? Fixing a leaking pump is usually pretty straightforward.
In most cases, the leak comes from one of three places: the shaft seal, the unions (the hand-tightened connectors attaching the pump to the pipe), or the wet end. The key is figuring out exactly where the problem is, and a flashlight will be your best friend here.
Step 1: Check the Unions
If the leak is coming from the unions, the first thing to do is make sure they’re tightened properly. Sometimes, a slight turn is all it takes to stop the leak. But if you’ve tightened them as much as possible and the leak persists, it’s time to take a closer look.
Undo the unions and check for the black rubber O-ring inside. If it’s missing or damaged, that’s your culprit. Simply replace it, reassemble the union, and tighten it up. That should stop the leak right there.
Step 2: Inspect the Wet End Seal
If the unions aren’t the issue, the next place to check is the wet end. This is where the pump connects to the rest of your hot tub’s plumbing. Just like with the unions, first, make sure all screws holding it in place are properly tightened.
Still leaking? Then it’s time to take it apart and check the rubber seal inside. If it’s worn out or cracked, swap it out for a new one. Once you put everything back together and tighten the screws, your pump should be as good as new.
The Bottom Line
A leaking hot tub pump might seem like a big deal, but it’s usually an easy fix. Whether it’s a worn-out O-ring or a loose connection, a quick inspection and some basic maintenance can get your hot tub back in top shape in no time.
Light Leaking
It may sound odd to have a light that leaks, but its not really the light but more the recess where it sits. Certainly in some of the older tubs that don’t have LED lighting, the lens of the Hot Tub lamp, especially with high temperature halogen lamps, can become loose or cracked.
Usually the lamp housing or recess is cracked. This can easily be fixed with some cheap epoxy putty from the hardware store or even Amazon. If you get the plumbers one, it can even set under water so you may not even need to drain your tub.
Filter Leaking
This is probably the easiest part to detect a leak. There are really three places that a filter can leak. The unions that attach it to the pipe. Like with the pump unions, check they are tight and check for the rubber gasket that is inside.
The next place is the bleed screw. Check that it is tight and of course there is no water coming out. This too has a rubber gasket on so you may need to replace that too.
The last place on the filter is the housing itself. If it is the cartridge style, there is a cylindrical screw that attaches the body to the base. This has a rubber gasket inside and this can become worn as you change your filters regularly. Replace and you should be all set.
Plumbing Leaks the Pipes and Joints
Your hot tub’s plumbing system is under constant pressure, handling high-temperature water every time you use it. Over time, this stress can take a toll on joints and seals, leading to leaks. The key to fixing the issue is identifying exactly where the leak is coming from.
Step 1: Track the Leak
Start with a visual inspection. Follow the trail of water back to its source. But keep in mind—gravity and water’s tendency to follow the path of least resistance can be deceiving. What looks like a leak in one spot might actually be coming from a different joint higher up. This happens more often than you’d think!
Step 2: Choose the Right Fix
If you’re draining the tub and letting everything dry out, an adhesive sealant is a great long-term fix. But if you need a quick patch without draining the water, underwater epoxy putty is your best bet. It’s easy to use, sets underwater, and keeps your hot tub running without unnecessary downtime.
The Bottom Line
Plumbing leaks are a common part of hot tub maintenance, but with the right approach, they’re easy to handle. A thorough inspection and the right sealant can have your hot tub back in top shape in no time!
The Secret to Leak-Free Joints in Your Hot Tub
If you want a leak-free hot tub, it all comes down to one simple rule: a well-made joint doesn’t leak.
My Costly Mistake
When I built my own tub, I made a classic mistake. I thought that reducing the number of joints by bending pipes would minimize the risk of leaks. In theory, fewer joints meant fewer chances for water to escape—right? Wrong.
By forcing pipes into awkward angles instead of making clean, square connections, I created weak points in my system. And guess what? Every single one of those forced joints ended up leaking at some point.
The Right Way to Do It
If you’re tackling your own hot tub plumbing, always make clean, square joints. Take the time to align everything properly, and you’ll save yourself a headache down the line. The fittings designed for concrete hot tubs are incredibly reliable—as long as you use pipe cement!
The Cost of a Dry Joint
Here’s my final confession: I once assembled part of my control room plumbing and forgot to cement in a single 90-degree joint. Everything seemed fine—until one Sunday afternoon, while watching the F1, I heard the blower speed up… then everything went silent.
The power had cut out. I rushed to check the tub, only to find my control room underwater and the tub drained by a third. That one dry joint had dumped water straight into my pump, frying it completely. An expensive mistake that could’ve been avoided with just a little cement!
Lesson Learned
When it comes to hot tub plumbing, don’t cut corners. Take your time, make proper connections, and always glue your joints. It’s a small step that can save you a big repair bill!
Can I Help You?
If I can help you in any way I would love to hear from you. You can get in touch using the form below.
Thanks - Andi
 Hi, Andi here. I own Buildahottub.com and also write all of the articles and info pages on the site. Some years back now, I built my own hot tub but struggled to find the information I needed. So, once my tub was complete, I started this website to help others in their own pursuit of hot tub and plunge pools DIY building information.
Fast forward to 2025, I've helped over 1400+ DIY customers just like you all over the world build hot tubs and pools. Have a good look around the site, there are lots of resources here. Please do get in touch if I can help you. - Cheers, Andi

