If you’re wondering how to build a concrete hot tub pad, you’ve found the perfect step-by-step guide! Having a hot tub in your backyard comes with a lot of perks—it’s an ideal spot to unwind after a long day and also great for entertaining guests.
But before you dive into installing your new hot tub—or even building one yourself—there’s an important first step: prepping the pad. This post will walk you through how to build a concrete pad for your hot tub, ensuring that everything runs smoothly from the very beginning. Whether you’re building your hot tub or buying one, a solid foundation is key for it to sit on!
Measuring Up
First, you will need to measure the area where your hot tub will go. This includes measuring how deep and wide it needs to be so that there are no issues with stability or safety later on. No one wants their new hot tub to collapse, so you have to be sure that it is sturdy enough for the job! You also might want to consider where you are going to place the hot tub cover when it is removed. It is quite large, so it is a good idea to have a space earmarked for where it will sit while you’re in your tub.
The next step is to decide what kind of foundation you would like. If your budget allows, a poured concrete pad will be the best option for stability and longevity! This can also help with drainage issues, as well, since it makes water pooling less likely than if there were just dirt or other materials underfoot; this could lead, over time, to subsidence of your tub into the ground, which we clearly want to avoid.
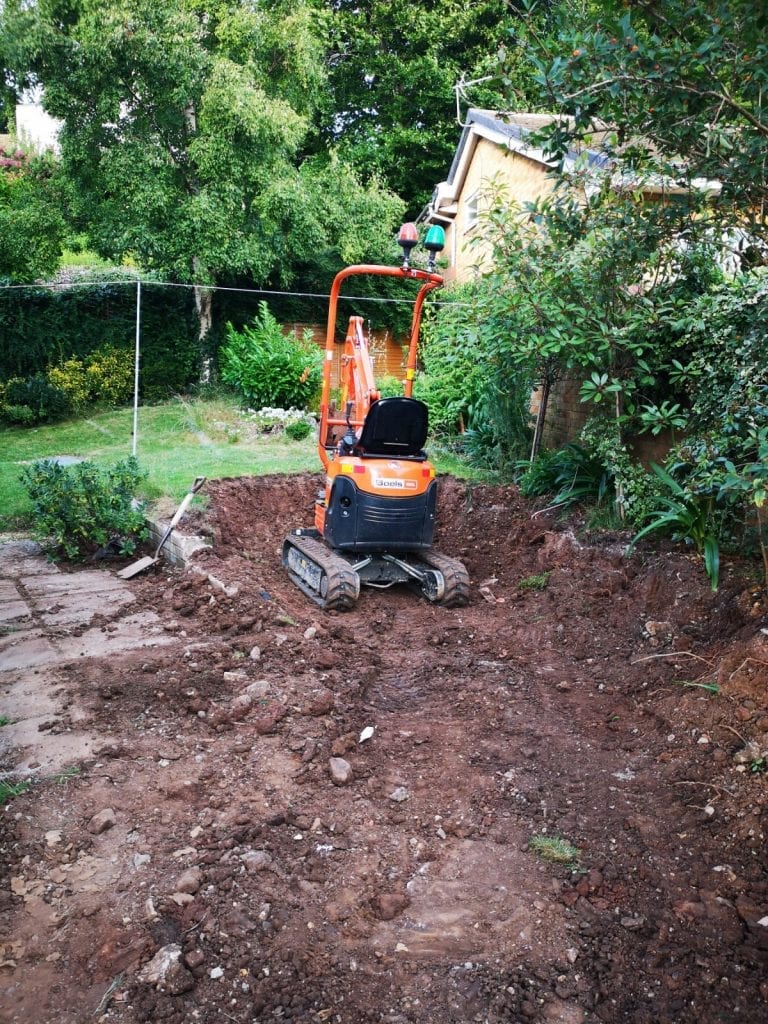
Clear the Area
Next up: make sure all of the space is cleared out for construction purposes too (this means removing any trees/bushes from around). It’s important not just because they can get damaged during installation, but also due to their roots getting into the concrete, which could cause problems over time as well… and we don’t want anything like a tree root coming through our new flooring now, do we?
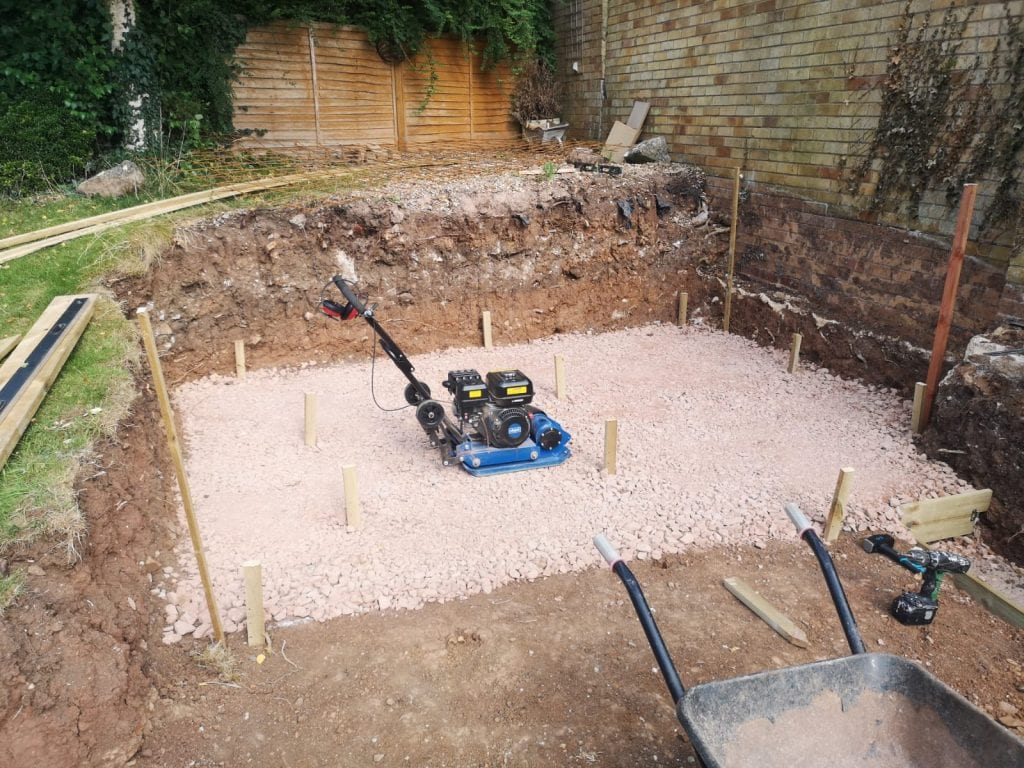
Ok, so once the area has been cleared, next, it’s time to start building the foundation for your hot tub. The first thing that you need to do is to cover the area with type one ballast or small gravel, which you will then compact flat using a “whacker” or similar machine.
Gravel Base
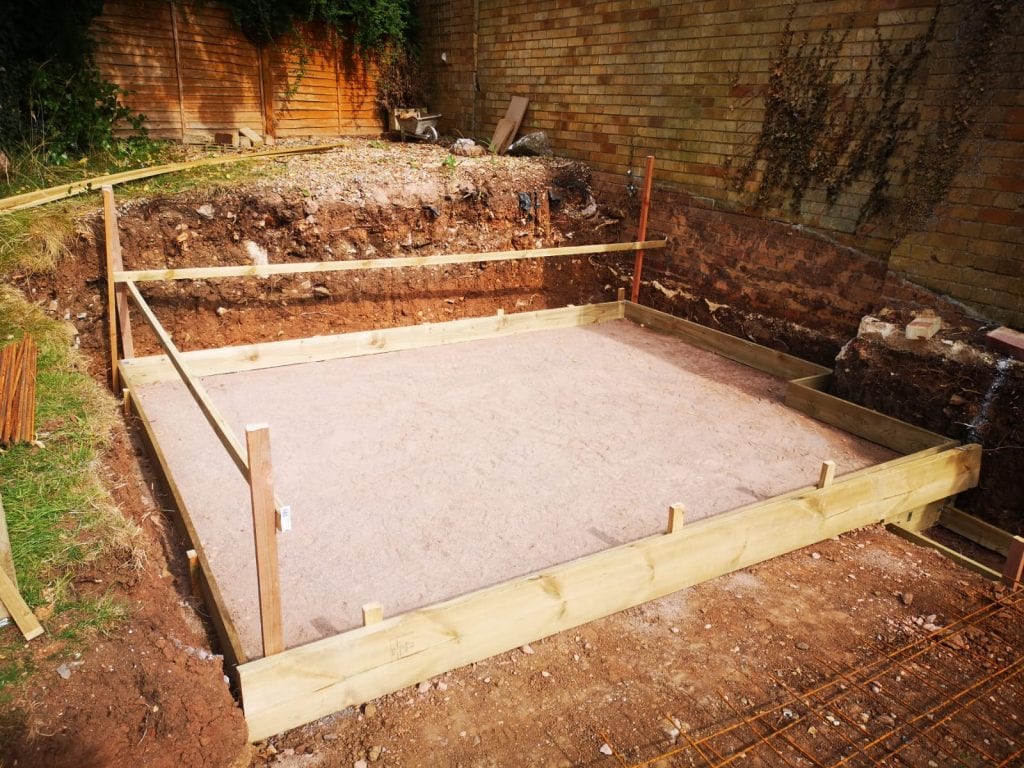
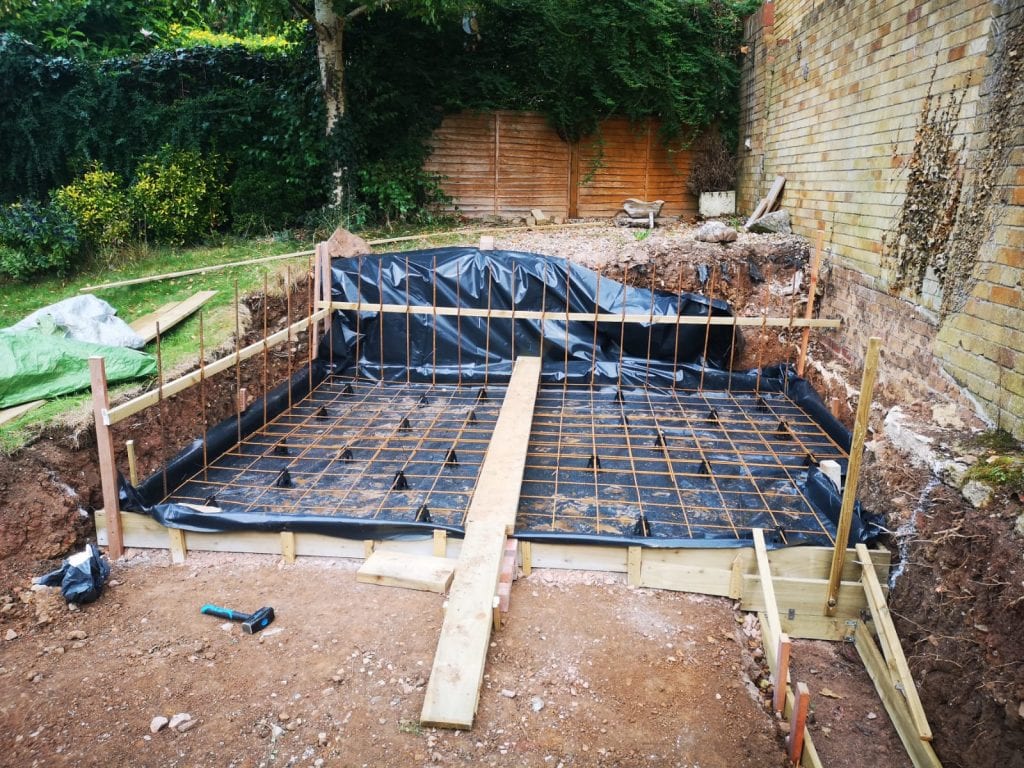
Once the gravel has been compacted down, the next stage is to create a form or mold, which will be made out of wood and then filled with concrete for your hot tub pad. The form will need to be a little bit larger than the hot tub you are installing or building. When you construct the form, it is essential that it is perfectly level. In that way, when you pour the concrete, you know that when it is full to the top of your form, it will be level and not sloped
Wood Frame & Waterproof Membrane
The next step is to add a waterproof membrane to the form. This will ensure that the concrete does not leak out and ruin your deck or patio. The membrane can be made of a variety of materials, but it is best to use one with high-density polyethylene (HDPE) as this material has excellent resistance against water damage.
Now you are ready to add a metal rebar reinforcement to your form. This will give the concrete a sturdy and strong structure. The rebar should be placed every two feet around your form, with one end of each piece sticking out about six inches from where it is inserted into the form to make sure that they do not bend when you pour in the concrete.
Metal Rebar for your Hot Tub Pad
Rebar can be purchased in sheets, as you can see above. This makes it much easier to lay. It should be kept off the ground so that the concrete can flow underneath it when you pour.
The next step is to mix your concrete. You will need a wheelbarrow, shovels, and hoes. Better still, a cement mixer will save you some back pain and a considerable amount of time.
Cement Mixing
You should mix the cement in batches of about 50 pounds at a time to make sure that it is mixed thoroughly before you add more water or sand, as this can cause lumps if not done properly. You want your concrete mixture wet enough so when squeezed together with your hands, there are no visible dry patches, but also firm like cookie dough without being too sticky where it sticks to each other’s fingers (this means adding the right amount of sand and water). The ratio for mixing mortar usually ranges from one part cement to one and a half parts sand.
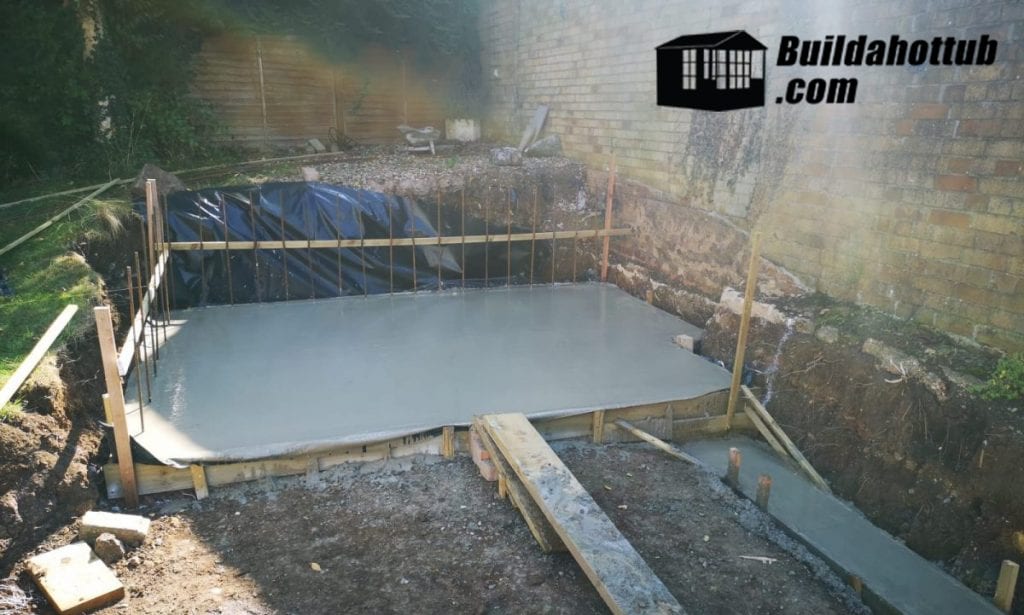
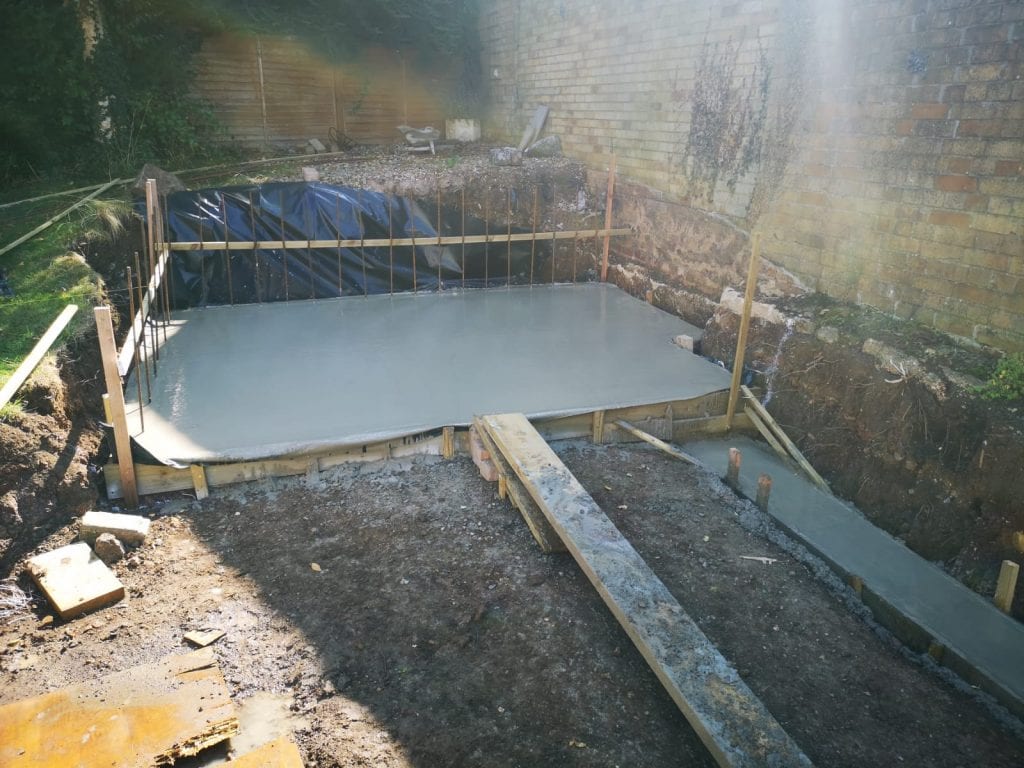
The next step in building an outdoor hot tub pad is pouring the cement into the form until it reaches the top level. To get a perfectly level finish, you can use a trowel to smooth the surface of your concrete.
When you are done, cover it with plastic and let it dry for at least 24 hours before removing the form or adding any water. You can also use an electric sander if desired, but be careful not to sand off all that hard work!
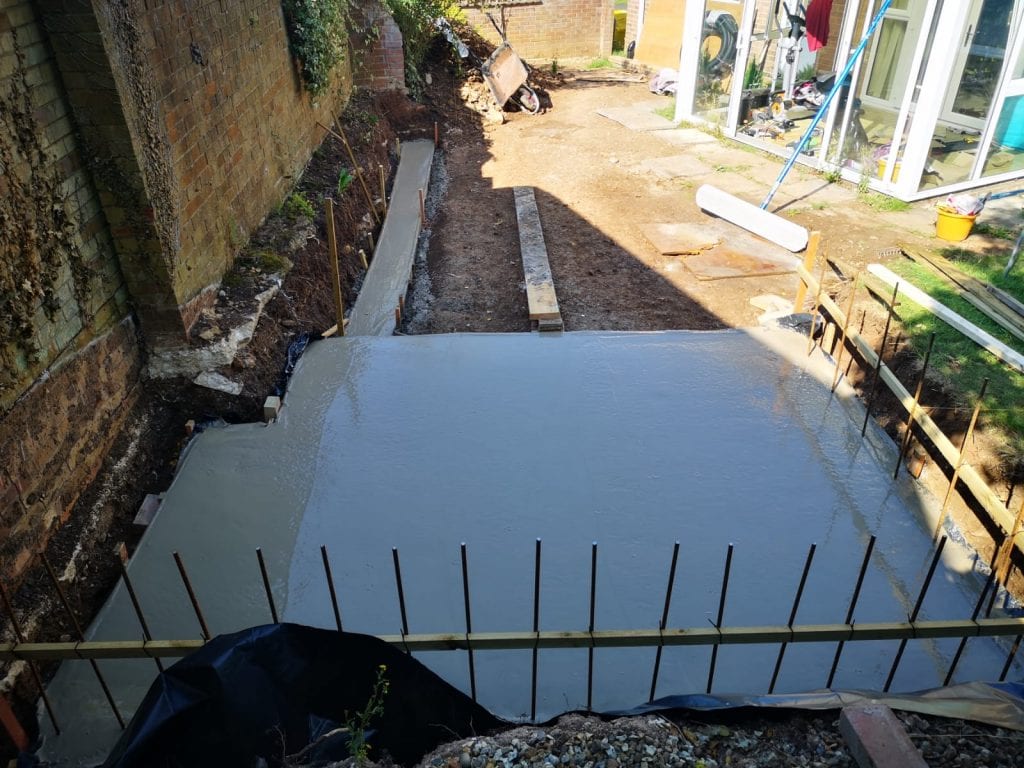
Remove the Wooden Frame / Mold from your Hot Tub Pad.
The next day, remove the mold by lifting up on one side, then pulling it out gently while using your other hand as support under the base until fully removed (be sure there is no excess cement left in the corners). If needed, add more mortar mix into corner gaps so they don’t crack later when drying completely, which could cause leaks around the edges where the hot tub sits against the wall/ground over time due to a lack of proper waterproofing sealant applied during the construction process.
It is highly advisable that you add a waterproofing agent to your cement mix before pouring the base. Concrete, as a material, by nature is porous. This means it is not waterproof. You should try and make the concrete waterproof by adding a waterproofing agent into the mix. This will help prevent cracks later down the line.
The best way is adding a waterproofing agent like “Sika Sarnafil” (available at most hardware stores) into your cement mix before you pour it. But if not available, then just apply some after the concrete has dried completely for 24 hours. It’s important because this step helps protect against water seeping through from below ground level as well, where the hot tub sits.
In cold areas, if this water freezes, your base could crack!
This was the exact process that Neil followed – you can read all about his build here.
Looking for a DIY Hot Tub plan or design? Check out the shop!