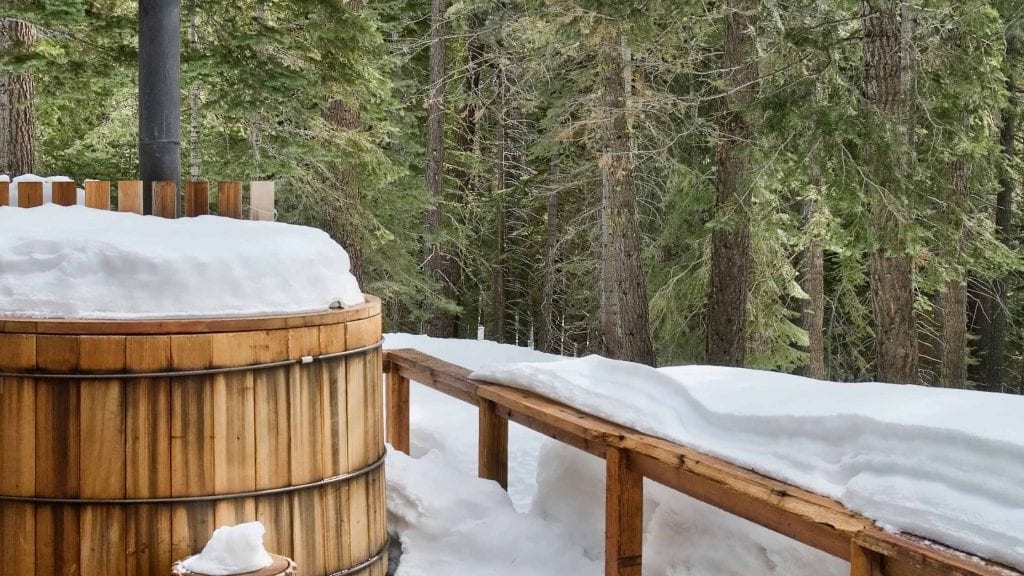
Winterizing your hot tub? It’s getting to that time of year again. Summer seems a distant thing of the past. The trees are starting to change colour and the temperature has dropped. For me, this is a great time of year as it is when my own Hot Tub really comes to life. I love being outside and it prolongs the use of the garden. We use our Hot Tub all year round, however, some of you will be packing it up for the winter. In this post, we are going to look at the steps you need to take.
Don’t forget, I have lots of helpful videos on my YouTube Channel – check it out!
Some of the steps will be similar to what you do when you drain and clean the hot tub so it not really a totally new process, in many cases winterizing your hot tub is just a modification of one you already know.
Winterising your hot tub – let the Chemicals Levels Drop first.
If you plan on re-using your water in the garden, then you need to lower the chemical concentrations before you do so. For some, this is easier than just letting it go to waste own the drain.
Chlorine and other disinfectants that can be toxic to plants and animals so you really need to let these levels drop to zero. Leave the cover off and the light will naturally reduce the level of Chlorine in your tub.
Once you are happy, you can empty the Tub onto the garden. Personally, I would not being doing this and I would be pouring or pumping in my case the water away down the drain. Personal preference of course.
Turn Off the Breaker
Time to remove the power to the Hot Tub. What you don’t want is the filter cycle kicking in even when you though that you had turned off the tub. A tub without water has no need to be powered so you can go ahead and kill the power via the circuit breaker.
Drain the Hot Tub
If you have one, remove the drain plug and connect it to the a garden hose. The average Hot Tub has about 400 gallons of water in so this is quite a lot to get rid of. Relying on gravity alone can be a slow process, so it might be worth getting a cheap wet pump from your local hardware store. This will speed things up and is how I drain my own.
Most wet pumps do leave a couple of inches left at the bottom that you cant get to. You can either remove this with a wet vacuum cleaner, or you can sponge it out. I tend to sponge it out in my own tub.
If you have removed any drain plugs, don’t lose them and make sure you put them back in once you have drained your tub. It’s not the end of the world if you lose it you can buy replacements but save yourself the hassle and put it in a safe place.
Loosen the Unions on the Pumps and Heater
You are going to need access to the control room so you can loosen the nuts on the Pump, Filter and Heater. Remember you might need a screwdriver to get into the access hatch to reveal the components. You need to make sure that all the water that is in the pipes is being drained. There could be a bit of air in the pipes that has trapped water. Likewise, with the filter, you probably want to remove the filter cartridge and give that a good clean too. You don’t want the water to freeze over winter and crack any of the internal parts. Also, when you are putting the filter cartridge back, make sure that it is totally dry. If you put it back wet and then leave it, it is going to be green and full of mold when you next come to use the tub in the strong – not nice!
Remove any Remaining Water
At this point you should be totally clear of water and empty. There shouldn’t be anything in the filter, parts, pump or the pipes. This is key to winterizing your hot tub – having zero water in the tub that can freeze!
Clean The Shell
It will be the fastest cleaning you have ever done in your tub! It is so much easier when there is no water in your way. To clean the shell, use non-abrasive sponges and a tub cleaner that does not need to be rinsed as you don’t want to get everything wet again and have to do more draining. If there is any stubborn dirt, you can give it a bit of a soak before you drain if that is going to make things easier – especially around the water line for example.
Clean The Cover
Don’t forget about the cover when winterizing your hot tub. This essential piece of kit is the one that will save you money on your electricity bills. Make sure that you clear both the top and the underside of the cover. If you are leaving the tub outside and empty during the winter, you need to make sure that the underside of the cover is totally dry, just like the shell before you baton it down for the winter. The last thing that you want is to have to scrub mold off the inside when you open it up in spring.
Conclusion
It is not rocket science to lower the chemical levels, disconnect the power, and empty the tub. Loosen the major components to get any excess water out of the pipework, clean the shell and cover. Dry thoroughly and you are ready to baton down for the winter months.
Can I Help You?
If I can help you in any way I would love to hear from you. You can get in touch using the form below.
Thanks - Andi
 Hi, Andi here. I own Buildahottub.com and also write all of the articles and info pages on the site. Some years back now, I built my own hot tub but struggled to find the information I needed. So, once my tub was complete, I started this website to help others in their own pursuit of hot tub and plunge pools DIY building information.
Fast forward to 2025, I've helped over 1400+ DIY customers just like you all over the world build hot tubs and pools. Have a good look around the site, there are lots of resources here. Please do get in touch if I can help you. - Cheers, Andi


